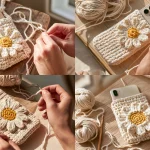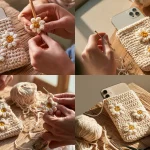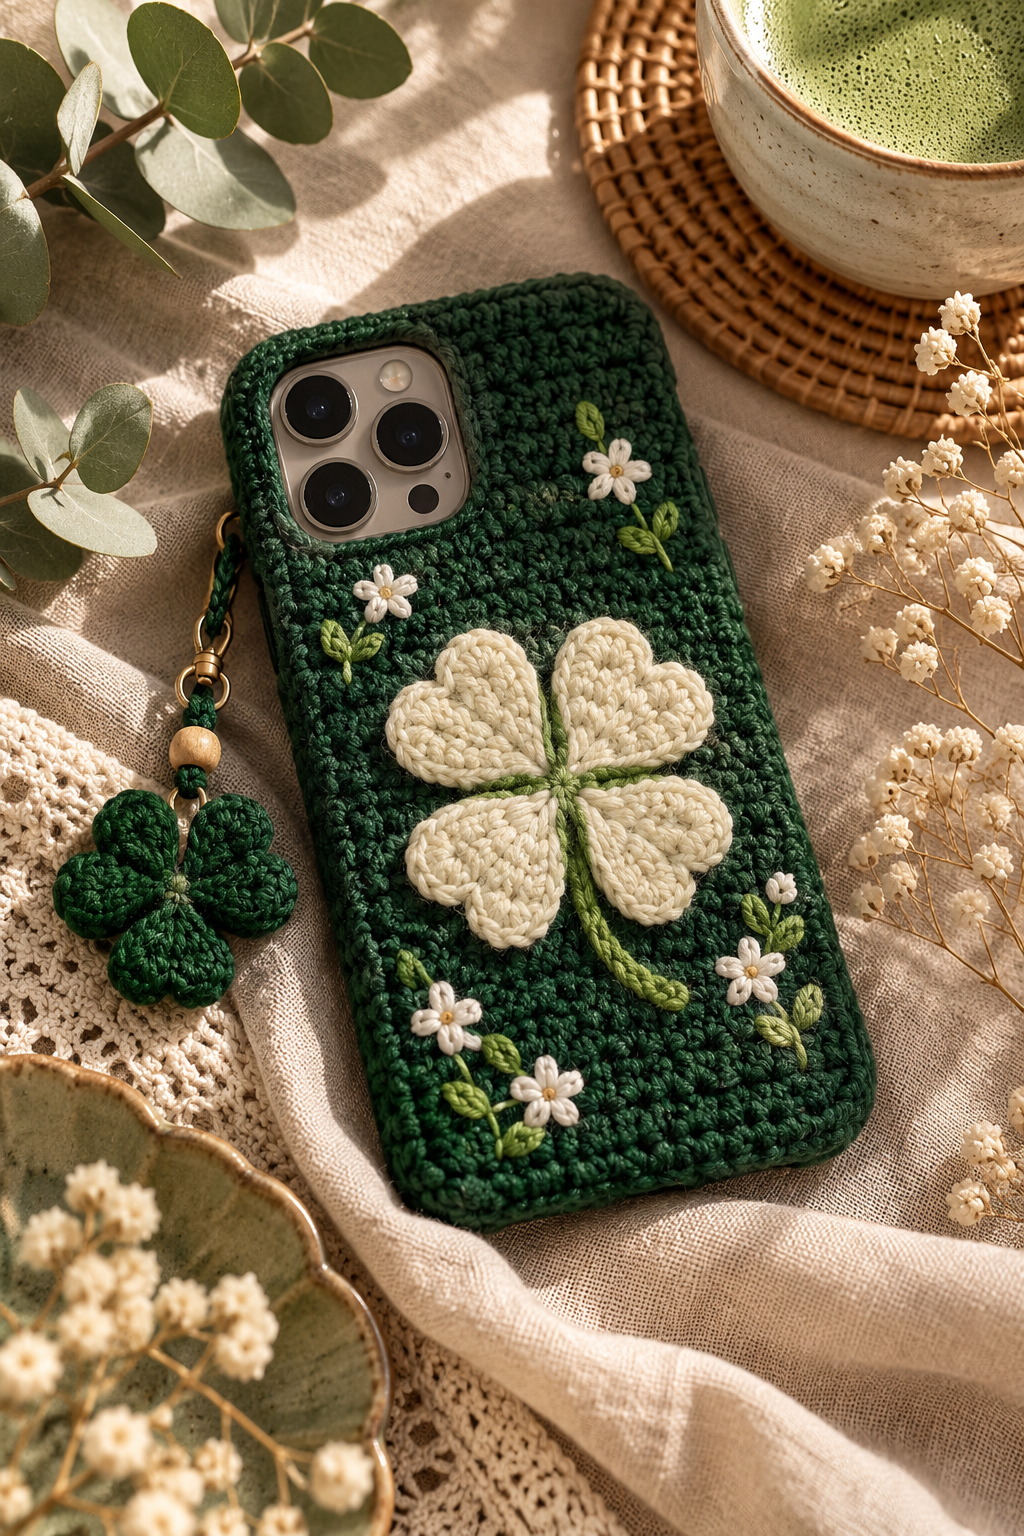
The DIY Daisy iPhone 18 Crochet Cover – Cute Handmade Phone Case is a soft, close-fitting sleeve made from two dense crochet panels, joined along the sides and bottom. A small daisy applique decorates the front, while a custom-positioned opening on the back leaves the camera area clear.
This is an approachable project if you can make chain stitches and single crochet. You will learn how to measure your own phone, shape a camera opening into one panel, make a simple layered daisy, and sew the cover together neatly. The pattern is written around your measurements rather than an assumed iPhone 18 size: check your actual device before you begin, because model dimensions, thickness, camera placement, and button positions can vary.
The cover is a protective fabric layer, not a rigid case. Crochet cannot replace a shock-resistant case, and the finished piece should not obstruct the camera, buttons, speakers, charging port, or other controls. Try it on the phone before weaving in the final seam tails.
Quick Project Overview
| Project | Skill Level | Construction | Yarn and hook | Finished size |
|---|---|---|---|---|
| Daisy phone cover | Confident beginner | Two flat panels, sewn together; separate flower applique | Light worsted cotton; 3.5 mm hook | Custom-fit to your device |
Allow a few hours, depending on your crochet speed and how long it takes to check the fit. The main panels use single crochet worked in rows. The daisy is made separately in rounds.
Materials Needed
- Light worsted or DK cotton yarn: approximately 40–60 yd (37–55 m) in a main color, 5–10 yd (5–9 m) in petal color, and a small amount of yellow for the flower center. Actual use varies with phone size, tension, and flower size.
- A 3.5 mm crochet hook, or a hook size that gives you firm, flexible fabric.
- Yarn needle with an eye large enough for your yarn.
- Scissors, measuring tape, and two stitch markers.
- Your actual phone, or accurate measurements of its body and camera area, for fit checks.
Yarn and Hook
Cotton or a cotton-rich yarn makes a useful phone cover because it holds its shape, produces clear stitches, and is generally less fuzzy than many acrylic yarns. Choose a smooth, tightly spun strand: fuzzy fibers can catch around the camera opening and obscure small details. A dense fabric helps the sleeve stay in place, but it will not provide the impact protection of a hard shell.
Use the hook size that creates compact stitches without making your hands strain. If your fabric feels stiff and hard to flex, try a hook 0.25–0.5 mm larger. If the stitches look loose enough to reveal wide gaps, try a smaller hook. A thicker yarn makes a bulkier cover and changes the number of stitches needed; a thinner yarn takes more stitches and may feel less protective. Substitutions can change both measurements and drape, so make a swatch and measure the result.
Gauge
There is no universal stitch count for this fitted project. Make a small single-crochet swatch using the yarn and hook you plan to use, then measure its relaxed width. Calculate your stitch gauge as stitches per inch: divide the number of stitches across the swatch by its width in inches. For example, if 16 stitches measure 4 inches, your gauge is 4 stitches per inch. Use your own result in the sizing formulas below rather than treating that example as a required gauge.
Measure the swatch without stretching it. If it is too wide for its stitch count, use a smaller hook; if it is too narrow, use a larger hook. For this case, matching the measured phone and creating firm fabric matter more than matching a published gauge.
Abbreviations
- ch – chain
- st – stitch
- sl st – slip stitch
- sc – single crochet
- dc – double crochet
- inc – work 2 sc in the same stitch
Pattern Notes
- Use US crochet terminology. The body panels are worked flat in rows; turn at the end of every row. The flower center and petals are worked in joined rounds.
- The turning ch 1 does not count as a stitch. Work the first sc into the first stitch, not into the turning chain.
- Both body panels have the same width and overall height. The front is plain; the back has a custom camera opening.
- Use a stitch marker at the first and last stitch of each panel row if you tend to miss edge stitches. Count after every row.
- The camera opening is made by splitting the back panel for several rows, then bridging the gap with chains. Its position and dimensions come from your phone, not a fixed pattern measurement.
- Seam the panels with the phone removed. Keep the top edge open and make the joining seam snug but not tight.
Before You Start
- Measure the phone without a bulky case if you plan to crochet a cover that fits directly over the device. If you want the crochet sleeve to fit over an existing case, measure the cased phone instead.
- Record the phone’s width, height, and thickness. Also note the camera bump’s location and the clear space needed around its lenses. Check where buttons, charging ports, and speakers sit.
- Make your swatch and calculate stitches per inch. Keep the swatch nearby so you can compare the body fabric as you work.
- Read the camera-opening section before crocheting the back panel. You will need the opening’s left, center, and right stitch counts before reaching that point.
DIY Daisy iPhone 18 Crochet Cover – Cute Handmade Phone Case – Step-by-Step Crochet Pattern
Calculate the panel size
Measure the phone’s face width (W), body height (H), and thickness (T). For a two-panel sleeve, start with a panel width of approximately W + T and a panel length of approximately H + T. This gives fabric to travel around the sides and bottom when the two panels are joined. Add about 1/8 inch (3 mm) of ease to each target if your fabric is firm; avoid adding extra ease if your stitches already stretch readily.
These are starting targets, not guaranteed dimensions. A snug fabric, yarn elasticity, and seam bulk all affect the fit. Convert your target panel width to stitches by multiplying the target width in inches by your measured stitches per inch, then round to a whole number. For example, with a target of 3.5 inches and 4 stitches per inch, use 14 stitches. Make a short sample and check its actual width before committing to the full panel.
For the panel length, use your row gauge if you have measured it: multiply target length in inches by rows per inch, then round to a whole row. Or work rows and measure the fabric directly. Do not stretch the panel while measuring.
Front panel
With the main color, make a foundation chain equal to your calculated stitch count plus 1. The extra chain is the turning chain. If your target count is 14 stitches, chain 15.
Row 1
Sc in the second ch from the hook and in each remaining chain. Turn. Your stitch count is the number of chains you intended to use as stitches; in the example, 14 sc.
Rows 2 onward
Ch 1, sc in every stitch across, turn. Repeat this row until the panel reaches your calculated target length. Keep the same stitch count on every row. Stop with the yarn attached if you plan to use it for part of the seam, or fasten off with a long tail of about 12 inches (30 cm) for sewing.
Checkpoint: Lay the panel flat and measure its width and length. It should match your chosen targets without stretching, with straight sides and the same number of stitches on each row. Make a second panel of the same width and length for the back; the camera opening will be created in its upper section.
Plan the camera opening
Place the back panel against the back of the phone in its intended orientation. Mark the camera area’s lower edge on the panel, allowing a little clearance around the camera bump and lenses. Do not assume the camera is centered or that its position matches another phone. The opening should be large enough to clear the camera housing without leaving a loose, snag-prone flap.
Use your stitch gauge to convert the planned opening width into stitches. Let L be the stitches from the left panel edge to the opening, C the stitches across the opening, and R the stitches from the opening to the right edge. The counts must add up to the full panel count: L + C + R = N. For example, on a 30-stitch panel, a layout of 8 left stitches, 10 opening stitches, and 12 right stitches totals 30. This is only an arithmetic example; choose counts that match your camera placement. Aim to have at least 3 stitches on each side so the split sections can be worked securely.
Convert the opening’s planned height to rows using your measured row gauge, then round to a whole number. Mark the lower and upper opening boundaries on the phone or a paper sketch. The opening must finish below the top edge, leaving enough complete rows above it to reach the panel’s full height. If the camera sits too close to the panel’s top for that layout, place the opening closer to the top and work fewer rows above it.
Back panel below the opening
Work the back panel from the bottom edge upward, just as you worked the front. Chain N + 1, sc in the second chain from the hook and across, then work even in sc rows until the fabric reaches the marked lower edge of the camera opening. Keep the stitch count at N on every row. Measure against the phone frequently; the lower edge of the opening should line up with your camera-location mark.
Back panel camera opening
At the next row, divide the stitches into L, C, and R. Work the left section first: ch 1, sc in the first L stitches, then turn. Do not work the C stitches or the R stitches in this section. Work back and forth over these L stitches for the number of rows you calculated for the opening height. Keep the inner edge straight; do not add stitches.
Fasten off the left section. Rejoin yarn at the other side of the opening, leaving the C stitches unworked. Work sc across the R stitches and turn. Continue for the same number of rows as the left section. Check that both sides have the same row count and that the open gap matches the camera area. If your row count is odd or your camera mark falls between rows, prioritize a clear opening and adjust the next section by one row if needed.
After completing both sides, the panel has two separate upper edges. On the next row, work across the left section, chain C stitches, then work across the right section. The chain span forms the top bridge over the camera opening. Keep the chain relaxed but not loose: a tight chain can pull the opening closed, while a very loose one can sag into the camera area.
On the following row, ch 1 and sc across the left stitches, work 1 sc in each chain across, then sc across the right stitches. You are back to N stitches. Continue in sc rows until the back panel reaches the same total length as the front. If the opening is near the top, you may have only a few rows above it. Fasten off with a long sewing tail.
Checkpoint: Lay the back panel over the phone, with the lower edge aligned. The camera opening should expose the complete camera area with a little clearance, and the full panel should match the front panel’s dimensions. If not, correct the opening before joining the cover.
Daisy center
With yellow yarn, make a magic ring. If you prefer, ch 2 and work into the second chain from the hook. The ring method leaves a smaller center hole.
Round 1
Ch 1, work 10 sc into the ring, then pull the ring closed. Join with a sl st to the first sc. Fasten off, leaving a tail for attaching the center to the petals later. Stitch count: 10 sc.
Daisy petals
Join the petal color with a sl st in any center stitch. Each petal is worked into one center stitch. For each of the 10 stitches, work a sl st, ch 2, 2 dc, ch 2, and sl st, all in that same stitch. The first and last slip stitches frame the petal; the two chains make its pointed ends. After the tenth petal, join with a sl st to the first joining point. Fasten off with a long tail.
Gently spread the petals so they lie evenly around the center. The flower should have 10 petals, one anchored in each center stitch. If your stitches are tight, use the hook tip to open the chain points without pulling them out of shape.
Assembly
Position the flower
Lay the front panel right side up. Place the daisy where it will not cover the camera opening, buttons, or an edge seam. A position around the upper-middle or lower-middle of the front usually leaves room for the phone, but check your own layout. Pin the flower in place and look at it with the phone held behind the panel to confirm its placement.
Use the yellow center tail to sew the center to the flower, then use the petal-color tail to secure each petal with one or two small stitches near its base. Stitch through the front panel only where practical, so the applique does not create bulky knots against the phone. Tie off on the wrong side and weave in the ends.
Join the panels
Place the front and back panels with their right sides facing out. Align the bottom edges and side edges, keeping the top edges open. The back panel’s camera opening should be on the side that will face the phone’s rear camera. Use stitch markers at the bottom corners and at the top of each side so the panels do not shift.
With the main color and a yarn needle, sew through both layers using a mattress-style seam or small whip stitches. Begin at one top corner, sew down the side, across the bottom, and up the other side. Keep each stitch close to the edge and distribute any slight difference in length gradually; do not bunch several extra stitches into one spot. Leave the final top edge open. The seam should be secure but flexible enough to stretch around the phone’s thickness.
If you prefer to crochet the seam, join yarn at a top corner and work sl sts through corresponding edge stitches of both panels down one side, across the bottom, and up the other side. This creates a more visible, firmer seam. Use the sewing method if your crochet seam would make the fit too tight.
Check the fit and finish the opening
Turn the cover right side out if needed and slide the phone in carefully. Do not force it past a tight seam. Check that the top is open, the phone can be removed, and the camera opening clears the entire camera housing. Confirm that the side seams do not cover buttons and the lower edge leaves ports and speakers accessible. If the case is too snug, unpick a short section of seam and resew with a smaller seam allowance. If it is loose, make the seam slightly deeper on both sides, evenly.
How to Adjust the Size
Measure the exact phone or the case you intend to cover. For the initial flat-panel estimate, use the phone’s face width plus its thickness for panel width, and its height plus its thickness for panel length. These estimates account for fabric traveling around the side and bottom, but crochet stretch and seam depth affect the final fit. Treat the formulas as a starting point and test the panels against the device before sewing.
To convert a target measurement into a chain count, multiply the target width in inches by your stitches per inch, then round to a whole stitch. Chain one more than that number for the foundation. If the panel is too narrow, add stitches; if it is too wide, remove stitches. Adjust height by adding or removing complete rows. Keep both panels the same size.
For the camera opening, calculate left stitches + opening stitches + right stitches = panel stitch count. Shift the opening by changing the left and right counts while keeping their total unchanged. Change the opening width by moving stitches between the opening and the side sections. Change its height by adding or removing split rows. Recheck the phone’s buttons and ports before finishing; they may need clearance too.
Finishing
Weave in every remaining end on the wrong side, changing direction through several stitches so the tails are less likely to loosen. Avoid pulling the fabric into a pucker. Trim tails only after you have checked the fit and camera alignment. If the opening edges look uneven, use the yarn needle to tack any loose chain loops neatly to the neighboring stitches without narrowing the opening.
Lightly shape the panels by hand. Avoid aggressive blocking, which may stretch the cover and change the fit. If the yarn label permits wet care, reshape the cover while damp and let it dry fully before putting it on the phone. Never place a damp crochet cover on an electronic device.
Helpful Tips
- Write down your stitch and row gauge, panel count, and camera-opening counts before starting. This makes it easier to repeat or adjust the project.
- Count the first and last stitch of every row. Missing an edge stitch gradually narrows a panel and can make the seams pull.
- Use stitch markers to identify the camera opening’s lower corners and the beginning of its split rows.
- Measure the panel flat without stretching it. Stretching makes a too-small panel appear usable until the seam is joined.
- Keep the camera opening chains at the same tension as the rest of the fabric. Loose chains can droop; tight chains can pinch the opening.
- Pin the daisy before sewing it down. Look at the cover from the front and back so the applique stays clear of functional areas.
- Try the cover on before cutting long seam tails. Small seam adjustments are easier while the yarn is still available.
Common Mistakes and How to Fix Them
1. The panel width does not match the phone
This usually comes from using a different yarn, hook, or tension than expected, or from miscounting the foundation chain. Measure the panel after several rows. If it is consistently too narrow or wide, unravel to the foundation and recalculate the stitch count using your actual swatch gauge; do not try to hide a large difference in the seams.
2. The side edges slope inward
A missed first or last stitch is the usual cause. Mark both edge stitches and count each row. If the slope is slight, you can add a stitch at the narrow edge in the next row, but a fitted cover is neater when you undo the uneven section and restore the original stitch count.
3. The camera opening is in the wrong place
Panel rows can measure differently from your estimate, especially if row gauge is uneven. Before making the split, place the panel on the phone and verify the lower edge and side position. If you notice the error after making the opening, unravel to the opening and remake it; do not cut a new hole through completed crochet fabric, because cut strands can unravel.
4. The opening sags or looks too tight
Loose bridge chains may dip into the camera area, while tight chains can pull the opening narrow. Replace the bridge row with chains worked at your normal tension. If needed, use a hook one size larger for the bridge chain only, then return to the regular hook for the next row.
5. The phone will not slide in after seaming
The seam may be too tight, or the panels may be shorter or narrower than the phone’s measured dimensions. Remove the phone and loosen the side seams evenly. If the panels themselves are too small, undo the seams and add rows or stitches to both panels rather than stretching the cover over the device.
6. The flower pulls the front panel out of shape
Long stitches or tight sewing can gather the fabric. Unpick the attachment stitches and secure the flower through its center and the bases of its petals with small, loose stitches. The applique should sit flat without drawing the panel inward.
Customization Ideas
- Choose a neutral main color with a bright yellow center and white petals, or reverse the colors for a cheerful contrast.
- Make a smaller daisy by using fewer center stitches and fewer petals, keeping each petal anchored in one center stitch.
- Add a narrow contrasting single-crochet edging around the top opening. Work evenly around the edge, taking care not to tighten it enough to prevent the phone sliding in.
- Use two or three colors in the body by changing yarn at the end of a row. Carry the unused strand loosely up the side only if the seam will cover it; otherwise, fasten off each color change and weave in the ends.
- Make a minimalist cover without the flower, or sew on a small leaf made from a short chain and slip stitches.
- For a cover worn over an existing protective case, measure that case and add only the ease needed for easy removal. A thicker phone assembly may require wider panels and a larger camera opening.
Care Instructions
Follow the yarn manufacturer’s care label, since cotton blends and other fibers can have different washing needs. Remove the cover from the phone before cleaning. If the label allows hand washing, use the recommended method, press out excess water without wringing, reshape, and dry completely on a flat surface. Keep the cover away from high heat, which can shrink or distort some yarns. Check the seams and flower attachment now and then, especially if the cover is used every day.
Frequently Asked Questions
Will this pattern fit every iPhone 18 model?
No single stitch count can guarantee a fit for every device or case combination. Measure the exact phone you own, including thickness, and use those measurements to plan the panels. Camera placement and button locations also matter, so verify the opening directly against your device before joining the panels.
Can I use acrylic yarn instead of cotton?
Yes, if the yarn produces a firm fabric with your chosen hook. Acrylic may stretch or feel softer than cotton, so make a swatch, let it rest, and measure again before calculating the panels. A loose or fuzzy acrylic fabric may be less suitable around the camera opening.
Can a beginner make this crochet phone cover?
A beginner who can chain, single crochet, turn rows, and sew seams can follow the main construction. The camera opening requires careful counting and two separately worked sections, so mark the stitch groups before beginning. If you are new to shaping, practice the split and chain bridge on a small swatch first.
What if my camera sits very close to the top edge?
Move the opening toward the panel’s top and reduce the number of complete rows above it. Keep enough fabric above the opening to make a stable top edge. If the camera bump reaches the top of the phone, the cover may need an open or modified top corner rather than the enclosed rectangular opening described here.
Can I crochet the side seams instead of sewing them?
Yes. Slip stitch through both panel edges for a visible, sturdy seam, or use single crochet for a thicker border. Either method can reduce the interior width, so check the fit as you join and switch to a needle seam if the crocheted seam makes the cover too tight.
How do I keep the flower from catching on things?
Sew down the center and each petal base securely, and avoid leaving long loose loops on the back. For a flatter decoration, make the petals with fewer stitches or use a small embroidered daisy instead. Keep the applique clear of the camera and controls.
Final Thoughts
This DIY Daisy iPhone 18 Crochet Cover – Cute Handmade Phone Case is easiest to fit when you measure the actual phone, calculate the panels from your own gauge, and check the camera placement before making the opening. Count the stitches carefully, compare the pieces with the device before seaming, and leave enough clearance for ports and buttons.
Choose colors that suit your style, or leave off the daisy for a simple custom sleeve. Take your time with the split opening and final fit check, then enjoy making another small crochet accessory with the yarn you have left.
About the Author

Marianne
kitchen guide and fellow food
Hi, we’re Marianne Hi there, and welcome to Recipes Days! I’m Marianne, your kitchen guide and fellow food lover. If you’ve ever felt overwhelmed by complicated recipes or thought, “I don’t have time to cook something good,” I’ve been there too. That’s why Recipes Days exists—to make cooking feel effortless, fun, and full of flavor, no matter your experience level.