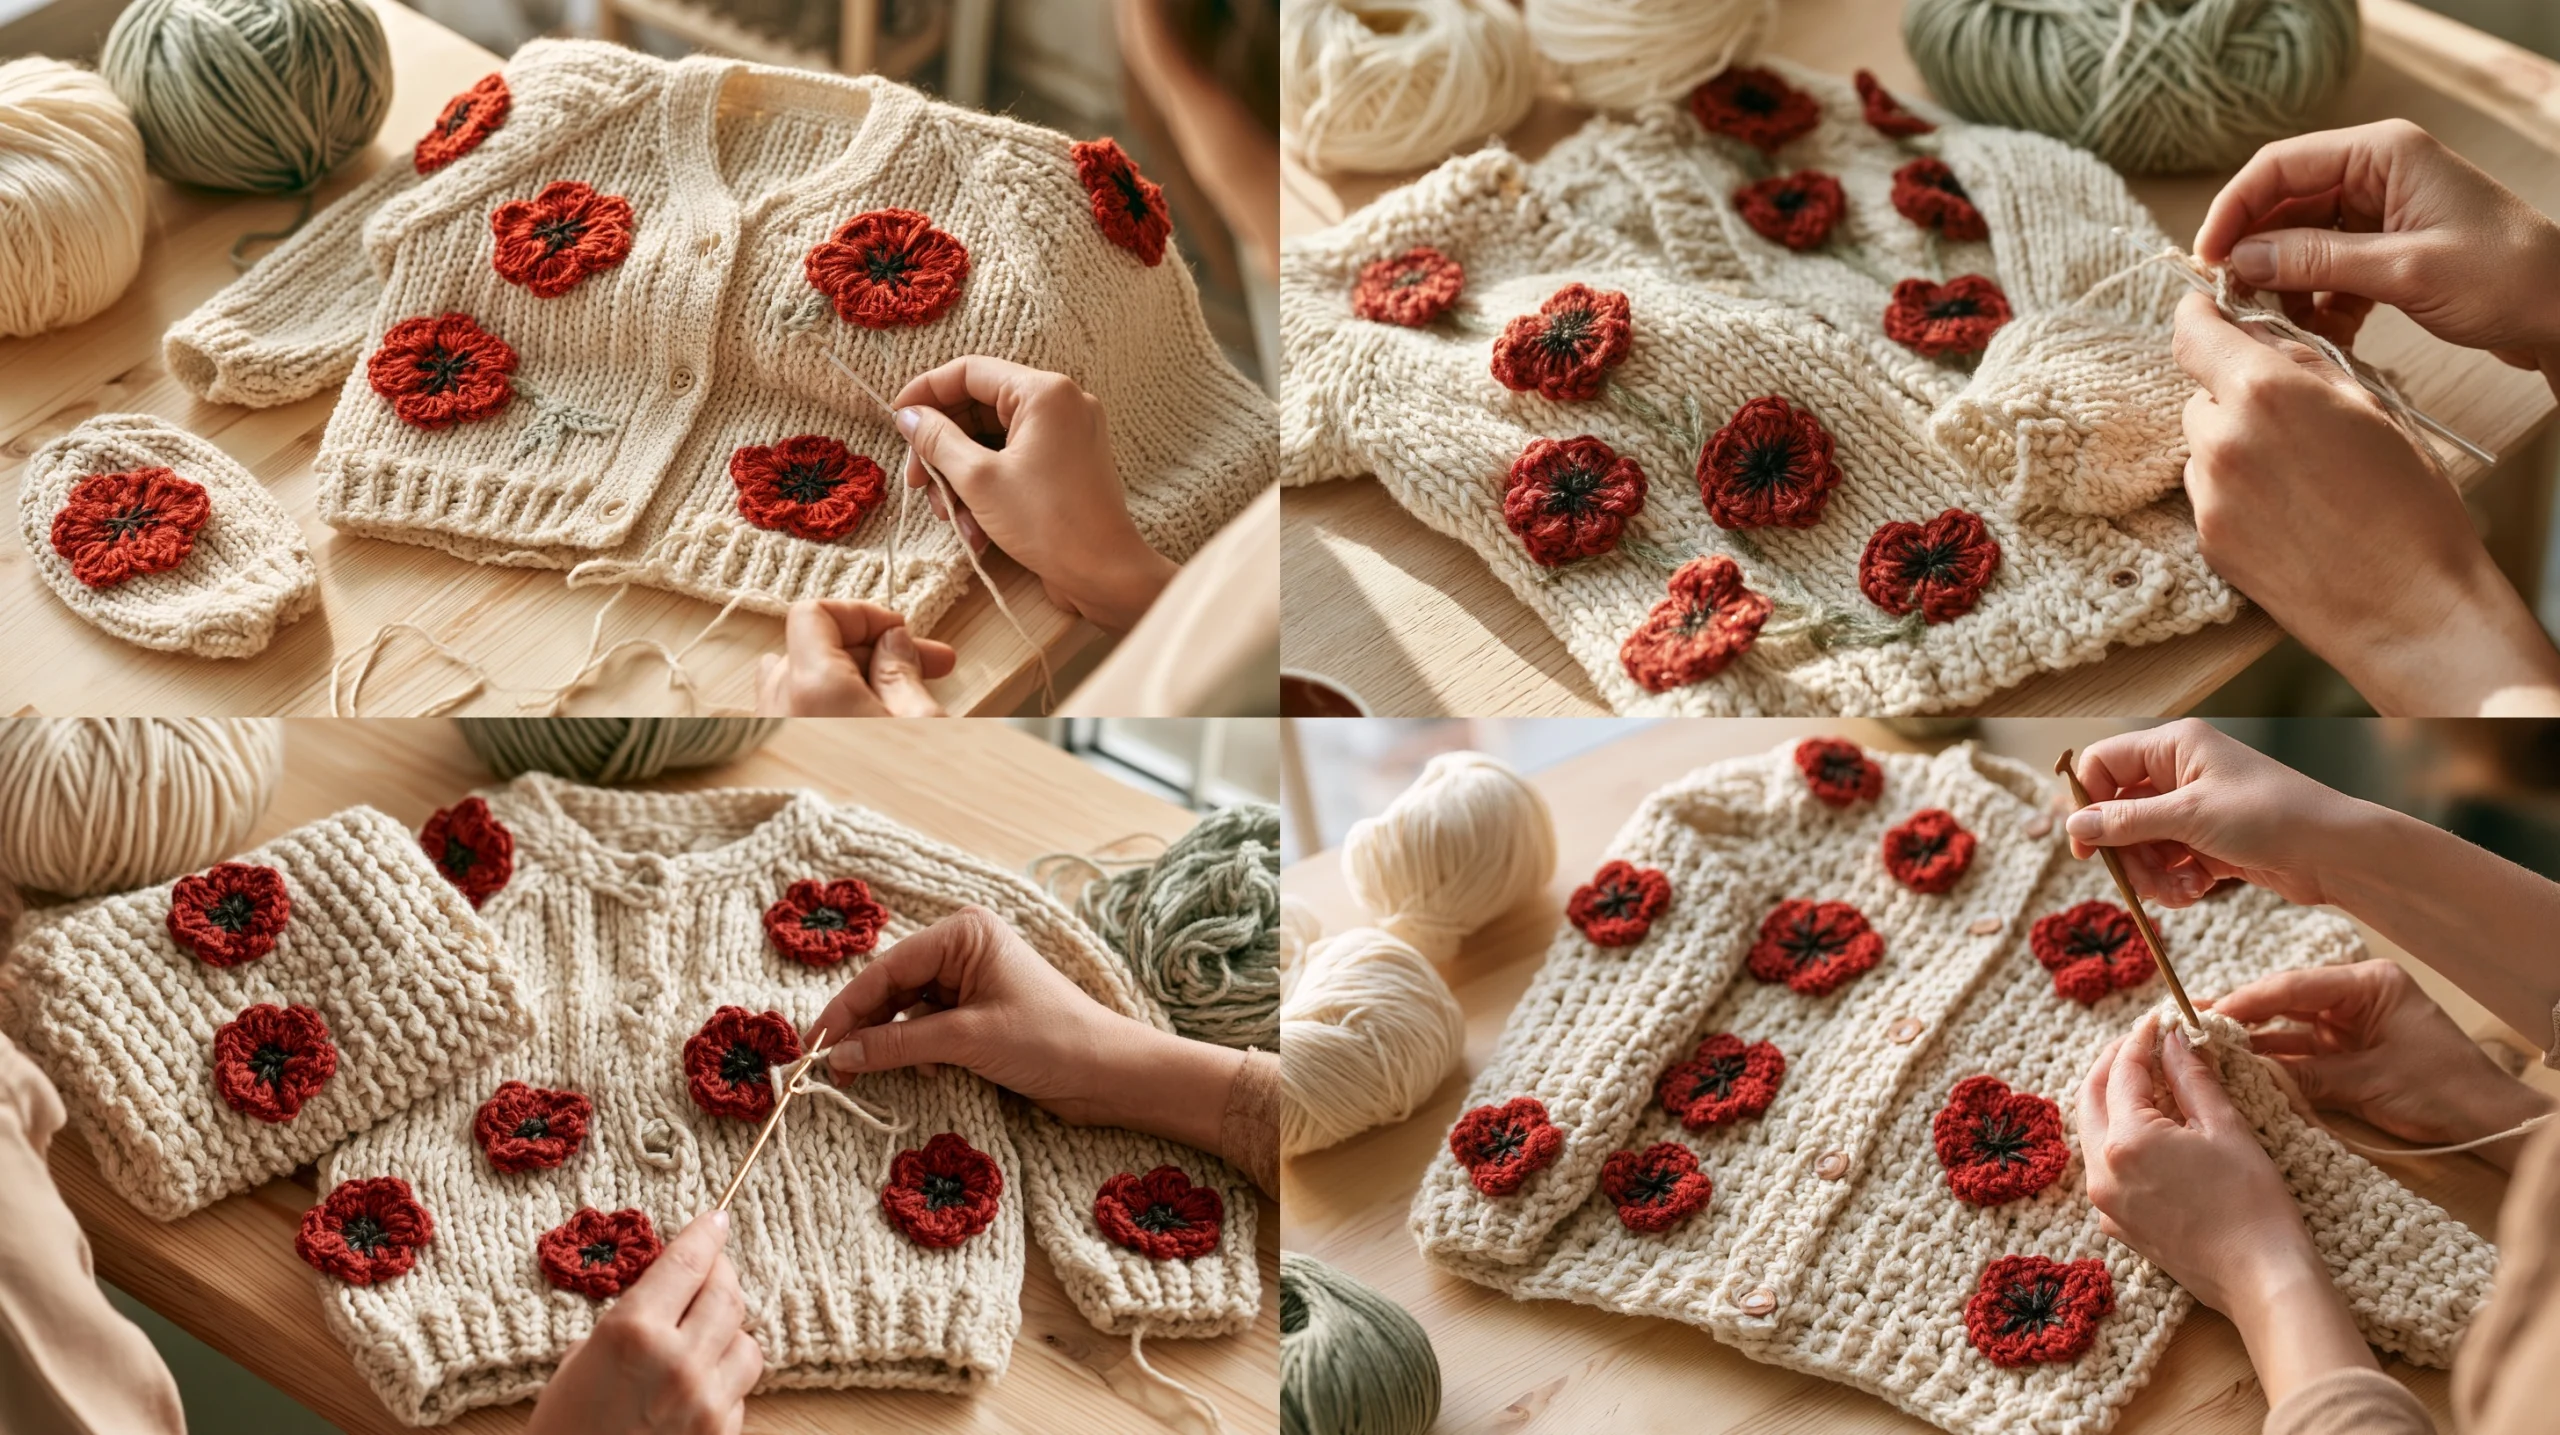
A soft cardigan with tiny red flowers makes a thoughtful handmade layer for a baby. This guide to Mohnblumen Babyjacke häkeln 🌺🤍 | Romantischer Vintage Look explains how to crochet a simple, made-to-measure cardigan and decorate it with poppy appliqués. The instructions use US crochet terms, with German equivalents included below.
The pattern is worked flat from the neckline down. You will shape a raglan yoke, separate the sleeves, finish the body and add a button band. Because babies and yarn gauges vary, the stitch counts come from your own measurements rather than a one-size-fits-all number.
You will also learn how to check the fit as you go, make a small poppy motif and attach every detail securely. A swatch and a well-fitting baby garment are the best tools for getting a comfortable result.
Mohnblumen Babyjacke häkeln: materials and planning
- Yarn: Choose a smooth, soft yarn suitable for baby clothing and follow its care label. A light or medium yarn is easier to work into a flexible cardigan than a very bulky one.
- Hook: Start with the size recommended on the yarn label, then adjust after making a swatch. The fabric should feel soft, not stiff or full of holes.
- Notions: Stitch markers, yarn needle, scissors and a few buttons. Choose buttons that can be sewn on firmly and are appropriate for the garment.
- For the flowers: Small amounts of red or poppy pink, black or dark brown, and optional green yarn.
- For measuring: A tape measure and, ideally, a cardigan or jumper that currently fits the baby.
Use the same yarn weight and hook for the cardigan swatch that you plan to use for the garment. If you want the flowers to stand out, use a slightly finer yarn for the appliqués rather than making them oversized or heavy.
Gauge, measurements and crochet terms
Make a swatch at least 12 cm wide in the stitch pattern you plan to use. Wash and dry it as the finished cardigan will be cared for, then measure the stitches across its centre. Record the number of stitches and rows in 10 cm. The swatch helps you calculate the foundation and predict the yoke depth.
Measure the baby over light clothing, or measure a well-fitting cardigan laid flat. Note the chest circumference, desired body length from shoulder to hem, sleeve length and the depth from neckline to underarm. Add a little wearing ease to the chest measurement so the cardigan can close comfortably over clothing. Use the existing garment as your guide if you are unsure how much ease to allow.
This tutorial uses US terms: ch = chain (Luftmasche), sc = single crochet (feste Masche), hdc = half double crochet (halbes Stäbchen), dc = double crochet (Stäbchen), and sl st = slip stitch (Kettmasche). A turning chain does not count as a stitch unless you choose to include it consistently in your own stitch count.
Step 1: Calculate and crochet the raglan yoke
First calculate the neckline chain. Multiply the neckline measurement you want by your swatch gauge in stitches per centimetre. For example, if your swatch has 16 stitches in 10 cm, use 1.6 stitches per centimetre. Round to a number that can be divided into four useful sections, then allow for the four raglan marker stitches. The result is a starting estimate, not a fixed size chart.
Divide the chain into five sections: left front, left sleeve, back, right sleeve and right front. As a starting proportion, give each front about one sixth of the available stitches, each sleeve about one sixth, and the back about one third. Adjust the front sections if you want a wider overlap or a different neckline. Place a marker at each of the four boundaries between sections.
Work back and forth in hdc, beginning in the second chain from the hook. At each marked stitch, work 3 hdc into that stitch; move the marker into the middle hdc of the group. This adds two stitches at each of the four raglan points, or eight stitches on an increase row. On a plain row, work one hdc in every stitch. If the cardigan fabric curls or feels too firm, check your gauge before continuing.
Repeat an increase row followed by a plain row, trying the yoke on or comparing it with your reference garment as it grows. Stop when the yoke reaches the measured underarm depth and the sleeve sections reach comfortably around the upper arm. You may need more or fewer increase rows than another crocheter; fit and gauge determine the count.
Step 2: Separate sleeves and work the body
On the next row, crochet across the first front to the first marker. Work the sleeve stitches up to the next marker onto a length of spare yarn or a stitch holder. Chain a short underarm bridge, then continue across the back. Hold the second sleeve in the same way, make a matching underarm bridge and finish across the other front. Choose enough chains to let the cardigan sit comfortably under the arm, but not so many that the opening gaps. Note the number you use so both sides match.
Work hdc rows across the body, including the underarm chains in your stitch pattern. Check the chest width before you get far down the body. If it is too narrow, you can add a few evenly spaced increases near the side seams; if it is too wide, unravel to the separation row and revise the yoke or bridge. Continue until the cardigan reaches your chosen length, then finish with a few rows of sc or another firm edging if you like.
Step 3: Crochet and finish the sleeves
Return the held stitches to your hook and work around the sleeve opening, including the underarm bridge. Place a marker at the centre of the underarm so you can keep track of rounds. Join each round neatly, or work in a spiral if your chosen stitch pattern allows it. Try the sleeve on the reference garment regularly and decrease gradually near the wrist if you want a tapered shape.
For a flat sleeve worked back and forth, keep the same number of stitches at the underarm and sew the seam after finishing. Either approach works; choose the one that gives you the tidiest fabric. Finish both sleeves at the same length, then add a cuff of sc or a few rows of hdc. Keep the cuff stretchy enough to slide over a hand without pulling.
Step 4: Make the poppy appliqués
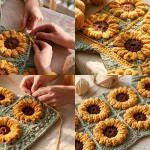
For a simple five-petal flower, use red or poppy-pink yarn and a hook that gives a firm but flexible motif. Make a magic ring and crochet 10 sc into it. Tighten the ring securely and join with a sl st. In the next round, work one petal into every other stitch: sl st in the chosen stitch, ch 3, work 2 dc into the same stitch, ch 3 and sl st into that stitch again. Repeat five times, spacing the petals around the ring. Fasten off and weave in the ends.
With dark yarn, embroider a small centre using a few short stitches. If you want a green accent, add a tiny embroidered leaf rather than a long chain or loose strand. Make one flower first and place it on the cardigan to check its size and weight. A scattering of small flowers along one front can look delicate; a single flower near the hem gives a quieter vintage finish.
Pin the motifs in place and check that they do not interfere with the button band, neckline or baby’s movement. Sew around each flower with matching yarn, securing the centre and every petal edge. For baby clothing, avoid loose decorations, beads and detachable parts. Inspect the flowers and buttons regularly, and remove the cardigan from use if any part comes loose.
Step 5: Add a button band and block the cardigan
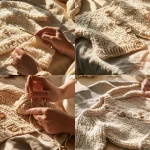
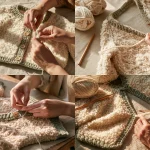
With the right side facing, join yarn at one lower front edge and work sc evenly up the front, around the neckline and down the other front edge. Aim for a smooth band that lies flat. Too many stitches can make it ruffle; too few can pull the fronts inward. If needed, undo the band and adjust the spacing rather than forcing it into shape.
Work another row or two of sc. On one front band, make buttonholes by chaining two and skipping two stitches at intervals that suit your buttons. In the next row, work into the chain spaces. Check that each button fits through easily but does not slip out on its own. Sew the buttons opposite the holes with strong, secure stitches.
Weave in all ends with a yarn needle, then wash and dry the cardigan according to the yarn label. Shape it gently while damp and let it dry flat. Avoid stretching the neckline or flower petals while arranging the fabric.
Fit checks and troubleshooting
- The neckline is too tight: Start again with a longer foundation chain or a larger hook, then recalculate the section divisions. Do not rely on stretching a tight neckline.
- The yoke feels too shallow: Add more raglan increase rows before separating the sleeves, checking that the chest and sleeve sections still fit.
- The body pulls at the underarms: Add a few chains to each underarm bridge or check whether the yoke depth is sufficient.
- The front edges flare: Work fewer stitches along the button band. If the fabric itself is wide, check your gauge and chest ease before changing the edging.
- The flowers curl: Try a slightly larger hook for the motif or relax your tension. Sew the petals down evenly without pulling them flat.
For a classic look, try an ivory or cream body with red flowers and a dark centre. A muted sage trim, wooden-look buttons or a soft blush body can give the same vintage feel with a different palette. If you enjoy small motifs, you could also explore granny squares or crochet appliqués for blankets; for a matching outfit, a simple baby hat can use the same edging.
Care and baby-friendly finishing
Always follow the yarn care label and use a mild washing method suited to the fibre. Store the cardigan clean and dry, and check seams, button attachments and appliqués before each wear. Avoid long cords or ties around the neck. Keep loose buttons and yarn ends away from babies, and do not leave a baby unattended in a garment with closures or decorative details.
Frequently asked questions
Can a beginner crochet this poppy baby cardigan?
Yes, if you are comfortable with chains, basic stitches and working into marked stitches. The made-to-measure calculations take a little planning, but the yoke is built from repeated increase rows. Make and measure a swatch before starting.
How do I choose the right size?
Measure a garment that fits the baby or use the baby’s measurements and add comfortable wearing ease. Use your own gauge to calculate the neckline and keep checking chest width, sleeve room and yoke depth as you work.
Can I use double crochet instead of half double crochet?
Yes. Double crochet makes a taller, more open fabric, so make a new swatch and recalculate the starting chain. You may also need fewer yoke rows to reach the same underarm depth.
How many poppies should I add?
That depends on the motif size and the cardigan. Start with one flower, check its weight and placement, then add only as many as you can sew on securely without making the front stiff or crowded.
Can I crochet the cardigan in a different yarn?
Yes, but make a fresh swatch and check the drape, care instructions and fabric density. A different yarn can change the stitch gauge and the amount of ease, so do not copy another project’s stitch counts without recalculating.
Conclusion
A well-fitting yoke, a soft yarn and securely sewn flowers are the essentials for a comfortable handmade layer. Use your swatch and measurements to guide every stitch, and treat the flower placement as a chance to make the design your own. With these steps, Mohnblumen Babyjacke häkeln 🌺🤍 | Romantischer Vintage Look becomes a practical, personal project—choose your colours, check the fit as you go and enjoy making it.
About the Author

Marianne
kitchen guide and fellow food
Hi, we’re Marianne Hi there, and welcome to Recipes Days! I’m Marianne, your kitchen guide and fellow food lover. If you’ve ever felt overwhelmed by complicated recipes or thought, “I don’t have time to cook something good,” I’ve been there too. That’s why Recipes Days exists—to make cooking feel effortless, fun, and full of flavor, no matter your experience level.