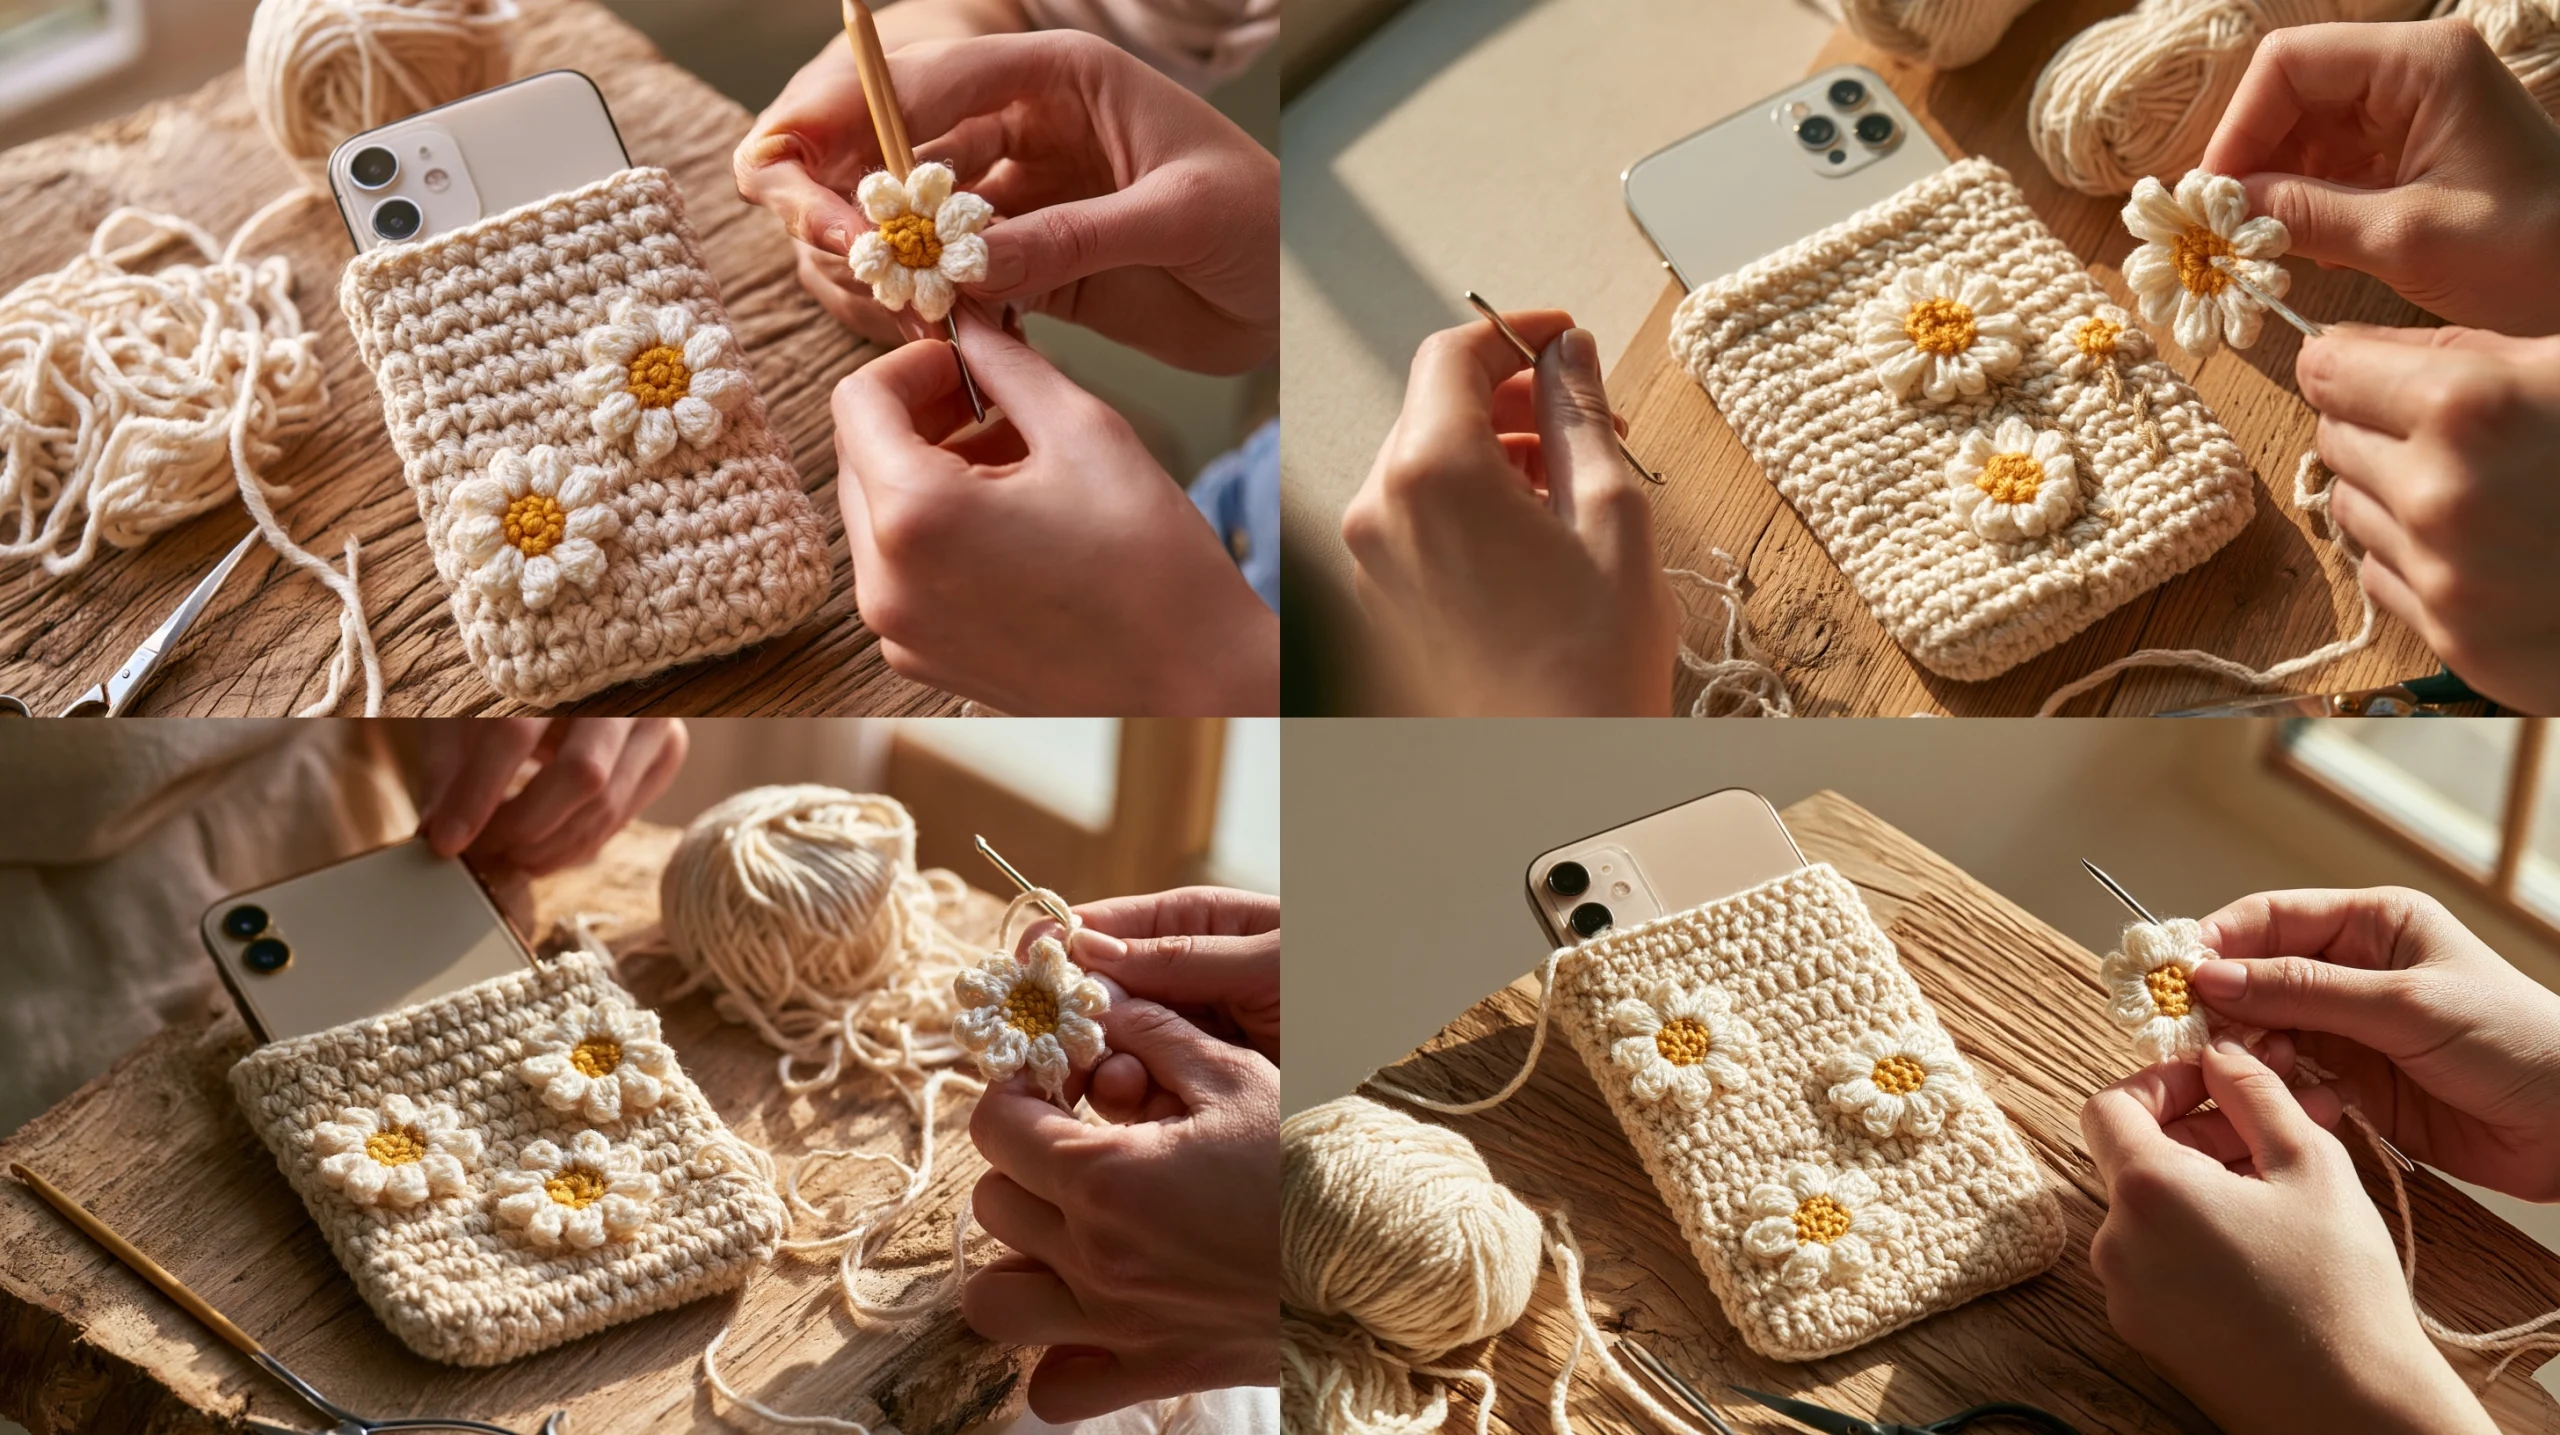
The DIY Daisy iPhone 18 Crochet Cover – Cute Handmade Phone Case is a soft, removable sleeve decorated with small crocheted daisies. You’ll make one flat rectangle in single crochet, fold it around your phone and sew the side edges together.
Because phone dimensions and camera layouts can vary, this pattern is based on your own measurements rather than a fixed stitch count. You’ll learn how to calculate the foundation chain and length, make the daisy appliqués, place them neatly and check the fit before closing the seams.
This sleeve covers the phone while it is stored or carried, but it is not a rigid protective case. Remove the phone from the sleeve before taking photos or connecting cables; the fabric is designed to stay clear of the camera and ports rather than provide openings for them.
Important note about fit
Measure the actual phone, including any thin case you plan to leave on it. The iPhone 18’s final dimensions and camera placement may differ by model, so don’t rely on a generic measurement or another phone’s stitch count. Yarn thickness, hook size and your personal tension also change the finished fit. Test the rectangle against the phone as you work, and don’t trim your sewing yarn until the phone slides in and out comfortably.
Project overview
| Project | Level | Construction | Size | Time |
|---|---|---|---|---|
| Crocheted phone sleeve with daisy appliqués | Confident beginner | Flat rectangle, folded and seamed; flowers made separately | Custom-fitted to your phone | Allow a few hours; pace varies |
Materials
- Lightweight cotton or cotton blend yarn, approximately 25–40 g for the sleeve, plus small amounts in two or three colors for the daisies. Actual use depends on phone size and yarn.
- A crochet hook suited to your yarn; start with the size suggested on the yarn label, then adjust for a firm fabric.
- Yarn needle, scissors and measuring tape.
- Two stitch markers to mark the halfway point and the sleeve opening, if helpful.
Yarn and hook
Cotton gives the sleeve a clear stitch texture and tends to hold its shape well. A cotton blend is another practical option. Choose a smooth yarn that won’t catch easily on the phone’s edges. Avoid very fluffy or bulky yarn: it adds thickness and can make the sleeve difficult to size accurately.
The fabric should be dense enough that the phone does not show through the stitches, but not so tight that it becomes stiff. If you can see large gaps, try a smaller hook. If the fabric feels rigid or curls strongly, try a larger hook and recheck your measurements. A substitute yarn can change both the size and stretch of the finished sleeve.
Gauge and sizing
There is no single stitch gauge for this custom-size pattern. Make a small swatch in single crochet, measure how many stitches and rows fit in 10 cm, and use those figures to calculate your chain and row count. Measure the swatch relaxed, without stretching it. The phone itself is the final fit check.
Measure the phone’s length (L), width (W) and thickness (T). For the sleeve’s cross-section, calculate the perimeter as 2 × W + 2 × T. Add about 0.5–1 cm of ease to that perimeter. The rectangle’s foundation chain should cover this adjusted perimeter; its row height should be about 2 × L + 1 cm, allowing a small amount for the opening. These are starting targets, not guaranteed finished measurements: the seam and yarn thickness affect the fit.
Abbreviations
- ch – chain
- sc – single crochet
- sl st – slip stitch
- dc – double crochet
- st – stitch
- RS – right side
The sleeve is worked back and forth in rows. The daisy centers are worked in joined rounds. Turning chains do not count as stitches.
Pattern notes
- For the sleeve, each row has the same number of stitches. The foundation chain determines the stitch count: work into the second chain from the hook, so a chain of N gives N − 1 single crochets.
- Keep the yarn relaxed when making the foundation chain. A tight chain can pull the lower edge in.
- The rectangle is folded across its midpoint, with the halfway fold forming the bottom of the sleeve. The two long side edges are sewn together; the opposite end stays open.
- Place the daisies on the outside-facing panel before sewing the sides. Try the layout against your phone so the decoration does not sit over the screen edge or opening.
Before you start
- Make a swatch in the yarn and hook you intend to use; record its stitch and row gauge.
- Measure your phone with any case that will remain on it. Measure around its widest cross-section, including raised edges.
- Use a tape measure or marker to identify the planned midpoint of the rectangle. This makes it easier to keep the two sleeve panels an even length.
DIY Daisy iPhone 18 Crochet Cover – Cute Handmade Phone Case: Step-by-step pattern
Make the sleeve rectangle
Use the main sleeve color. Based on your swatch, make a foundation chain long enough to match the adjusted phone perimeter: 2 × phone width + 2 × phone thickness, plus about 0.5–1 cm ease. If your stitch gauge is s stitches per 10 cm, estimate the number of stitches needed as perimeter in centimetres × s ÷ 10. Round to a whole stitch, then chain one extra for the turning chain.
Row 1
Sc in the second ch from the hook and in each ch across. Turn. Your stitch count is one less than the number of chains made.
Rows 2 onward
Ch 1, sc in each st across, then turn. Do not work into the turning chain. Repeat until the rectangle measures approximately twice the phone’s length, plus about 1 cm. Count rows or use a tape measure; row height depends on your gauge.
Lay the phone on the fabric as you approach the target length. The rectangle should reach from the phone’s bottom, over its front, to the opening at the top when folded at its midpoint. If it is too short or long, adjust the row count now.
Fold and mark
With the right side facing out, fold the rectangle across its midpoint so the foundation edge and final row meet. The fold is the sleeve bottom. The two halves should each be about the phone’s length. Place a marker at each top corner to keep the opening easy to identify.
Make the daisy appliqués
Make three flowers, or make enough to suit your chosen layout. Use a contrasting color for each center and a second color for the petals.
Daisy center
With the center color, make a magic ring and work 6 sc into it. Pull the ring snug and join to the first sc with a sl st. Fasten off, leaving a long tail for sewing.
Petals
Join the petal color with a sl st in any center stitch. In that same stitch, work ch 3, 2 dc, ch 3, then sl st. Repeat this petal sequence once in each of the remaining five center stitches. Join with a sl st to the starting point and fasten off, leaving a sewing tail. Each flower has six petals.
Position and attach the flowers
Open the folded rectangle and identify the panel that will face outward when the phone is in the sleeve. Arrange the flowers on that panel, keeping them clear of the top opening and side edges. Pin or hold them in place, then sew each center securely to the fabric with its yarn tail. Avoid catching the back panel underneath.
Seam the sides
Fold the rectangle again with the wrong side facing out and the two side edges aligned. Starting just below one top corner, sew the side edges together using a whip stitch or mattress stitch, working down to the fold. Repeat on the other side. Keep the top edge open. Make sure the seam catches both layers evenly without pulling the fabric tight. Turn the sleeve right side out.
Adjusting the size
If the sleeve is too narrow, undo the foundation chain and add stitches until it matches the measured perimeter. If it is too wide, reduce the chain. Add or remove rows to change the sleeve length; check the midpoint so both panels remain equal. For a thicker phone case, include its extra width and thickness in the measurements rather than relying on stretch.
Finishing
Try the sleeve on the phone before weaving in or trimming the side-seam tails. The phone should slide in without force and stay in place when the sleeve is held upright. Check that the opening is not pulled closed and that the appliqués are secure. If the sleeve is tight, undo the seams and remake the rectangle slightly wider rather than stretching the crochet.
Once the fit is right, weave in all ends on the inside, changing direction several times so they stay secure. Trim the tails close only after the final fit check. No blocking is usually needed; if the rectangle curls, lightly shape it flat according to the yarn label’s care instructions before sewing.
Practical tips
- Count the first row carefully; the turning chain is not a stitch.
- Check the foundation chain against the phone perimeter before crocheting the full rectangle.
- Use a stitch marker at the halfway row or measure the rectangle and mark its center before folding.
- Keep the side seams loose enough for the sleeve to retain its width. Tight seams can make a correctly sized panel feel too small.
- Arrange the flowers while the rectangle is flat and folded as it will be worn, so they land on the intended panel.
- Use a smooth, firm sewing yarn for the appliqués and secure the back of each flower without puckering the fabric.
Common mistakes and fixes
1. The sleeve is too tight
The foundation chain may be short, the hook may be too small, or the side seams may be pulled tight. Recheck the perimeter with the phone or its case included. If needed, remake the rectangle wider and sew with a relaxed seam.
2. The rectangle narrows at the foundation edge
This often happens when the foundation chain is tighter than the single-crochet rows. Try a slightly larger hook for the chain alone, or work the chain more loosely, then continue with your usual hook.
3. The side edges do not line up
Uneven tension or a missed stitch can make one edge shorter. Check each row’s stitch count and compare both edges before folding. If the difference is significant, undo to the first uneven row and correct it.
4. A flower sits over the opening or seam
The layout was likely planned before the fabric was folded. Reposition the appliqué while the sleeve is still flat, leaving room for the opening and a clear margin beside each seam.
5. The phone slips out too easily
The rectangle may have too much ease or the yarn may stretch with use. Reduce the perimeter slightly on a remake, while keeping enough room to insert the phone without forcing it. Don’t rely on a tight top edge as a closure.
Variations and design ideas
- Use a neutral sleeve with one bright daisy, or add more flowers in a balanced arrangement.
- Work the sleeve in stripes, changing color at the beginning of a row and carrying or fastening off yarn neatly.
- Add a contrasting single-crochet border around the opening, taking care not to tighten it.
- Make tiny leaves with green yarn and sew them beside the flowers.
- Choose muted autumn shades or pastel colors to suit the season.
Care instructions
Follow the care instructions on your yarn label. Cotton and cotton-blend yarns can behave differently when washed, and some may shrink or lose shape. If washing is permitted, remove the phone first and reshape the sleeve while it dries. Avoid putting the phone back in until the crochet is completely dry.
Frequently asked questions
Can a beginner crochet this phone sleeve?
Yes, if you are comfortable with chains, single crochet and simple sewing. The main challenge is measuring accurately and maintaining an even rectangle. The daisies use basic stitches but require a little care when sewing them on.
How do I know how many chains to make?
Use your swatch gauge and the measured phone perimeter. Multiply the perimeter in centimetres by your stitches per 10 cm, divide by 10, then add one chain for the turning chain. Check the resulting fabric length against the actual phone before continuing.
Can I use acrylic yarn instead of cotton?
You can, but acrylic may stretch or feel different from cotton. Make a swatch and check the fabric’s density and recovery. Recalculate the foundation chain from the new gauge rather than keeping the same stitch count.
Will the sleeve fit every iPhone 18 model?
Not necessarily. Model dimensions, camera bumps and any separate case affect the fit. Measure the exact phone setup you plan to use and adjust the pattern accordingly.
Can I use the phone camera while it is in the sleeve?
No. The sleeve has no camera opening. Slide the phone out before taking photos or using a cable, then return it to the sleeve afterward.
Conclusion
This DIY Daisy iPhone 18 Crochet Cover – Cute Handmade Phone Case is built around measurements, so the most important steps are swatching, checking the rectangle against your phone and testing the fit before finishing the seams. Keep the stitch count even, place the daisies before sewing and adjust the width or length if your phone needs it.
Choose colors that feel like yours, and take your time with the fitting and finishing. Once you’ve made one, you can use the same approach for another small crochet pouch or handmade accessory.
About the Author

Marianne
kitchen guide and fellow food
Hi, we’re Marianne Hi there, and welcome to Recipes Days! I’m Marianne, your kitchen guide and fellow food lover. If you’ve ever felt overwhelmed by complicated recipes or thought, “I don’t have time to cook something good,” I’ve been there too. That’s why Recipes Days exists—to make cooking feel effortless, fun, and full of flavor, no matter your experience level.