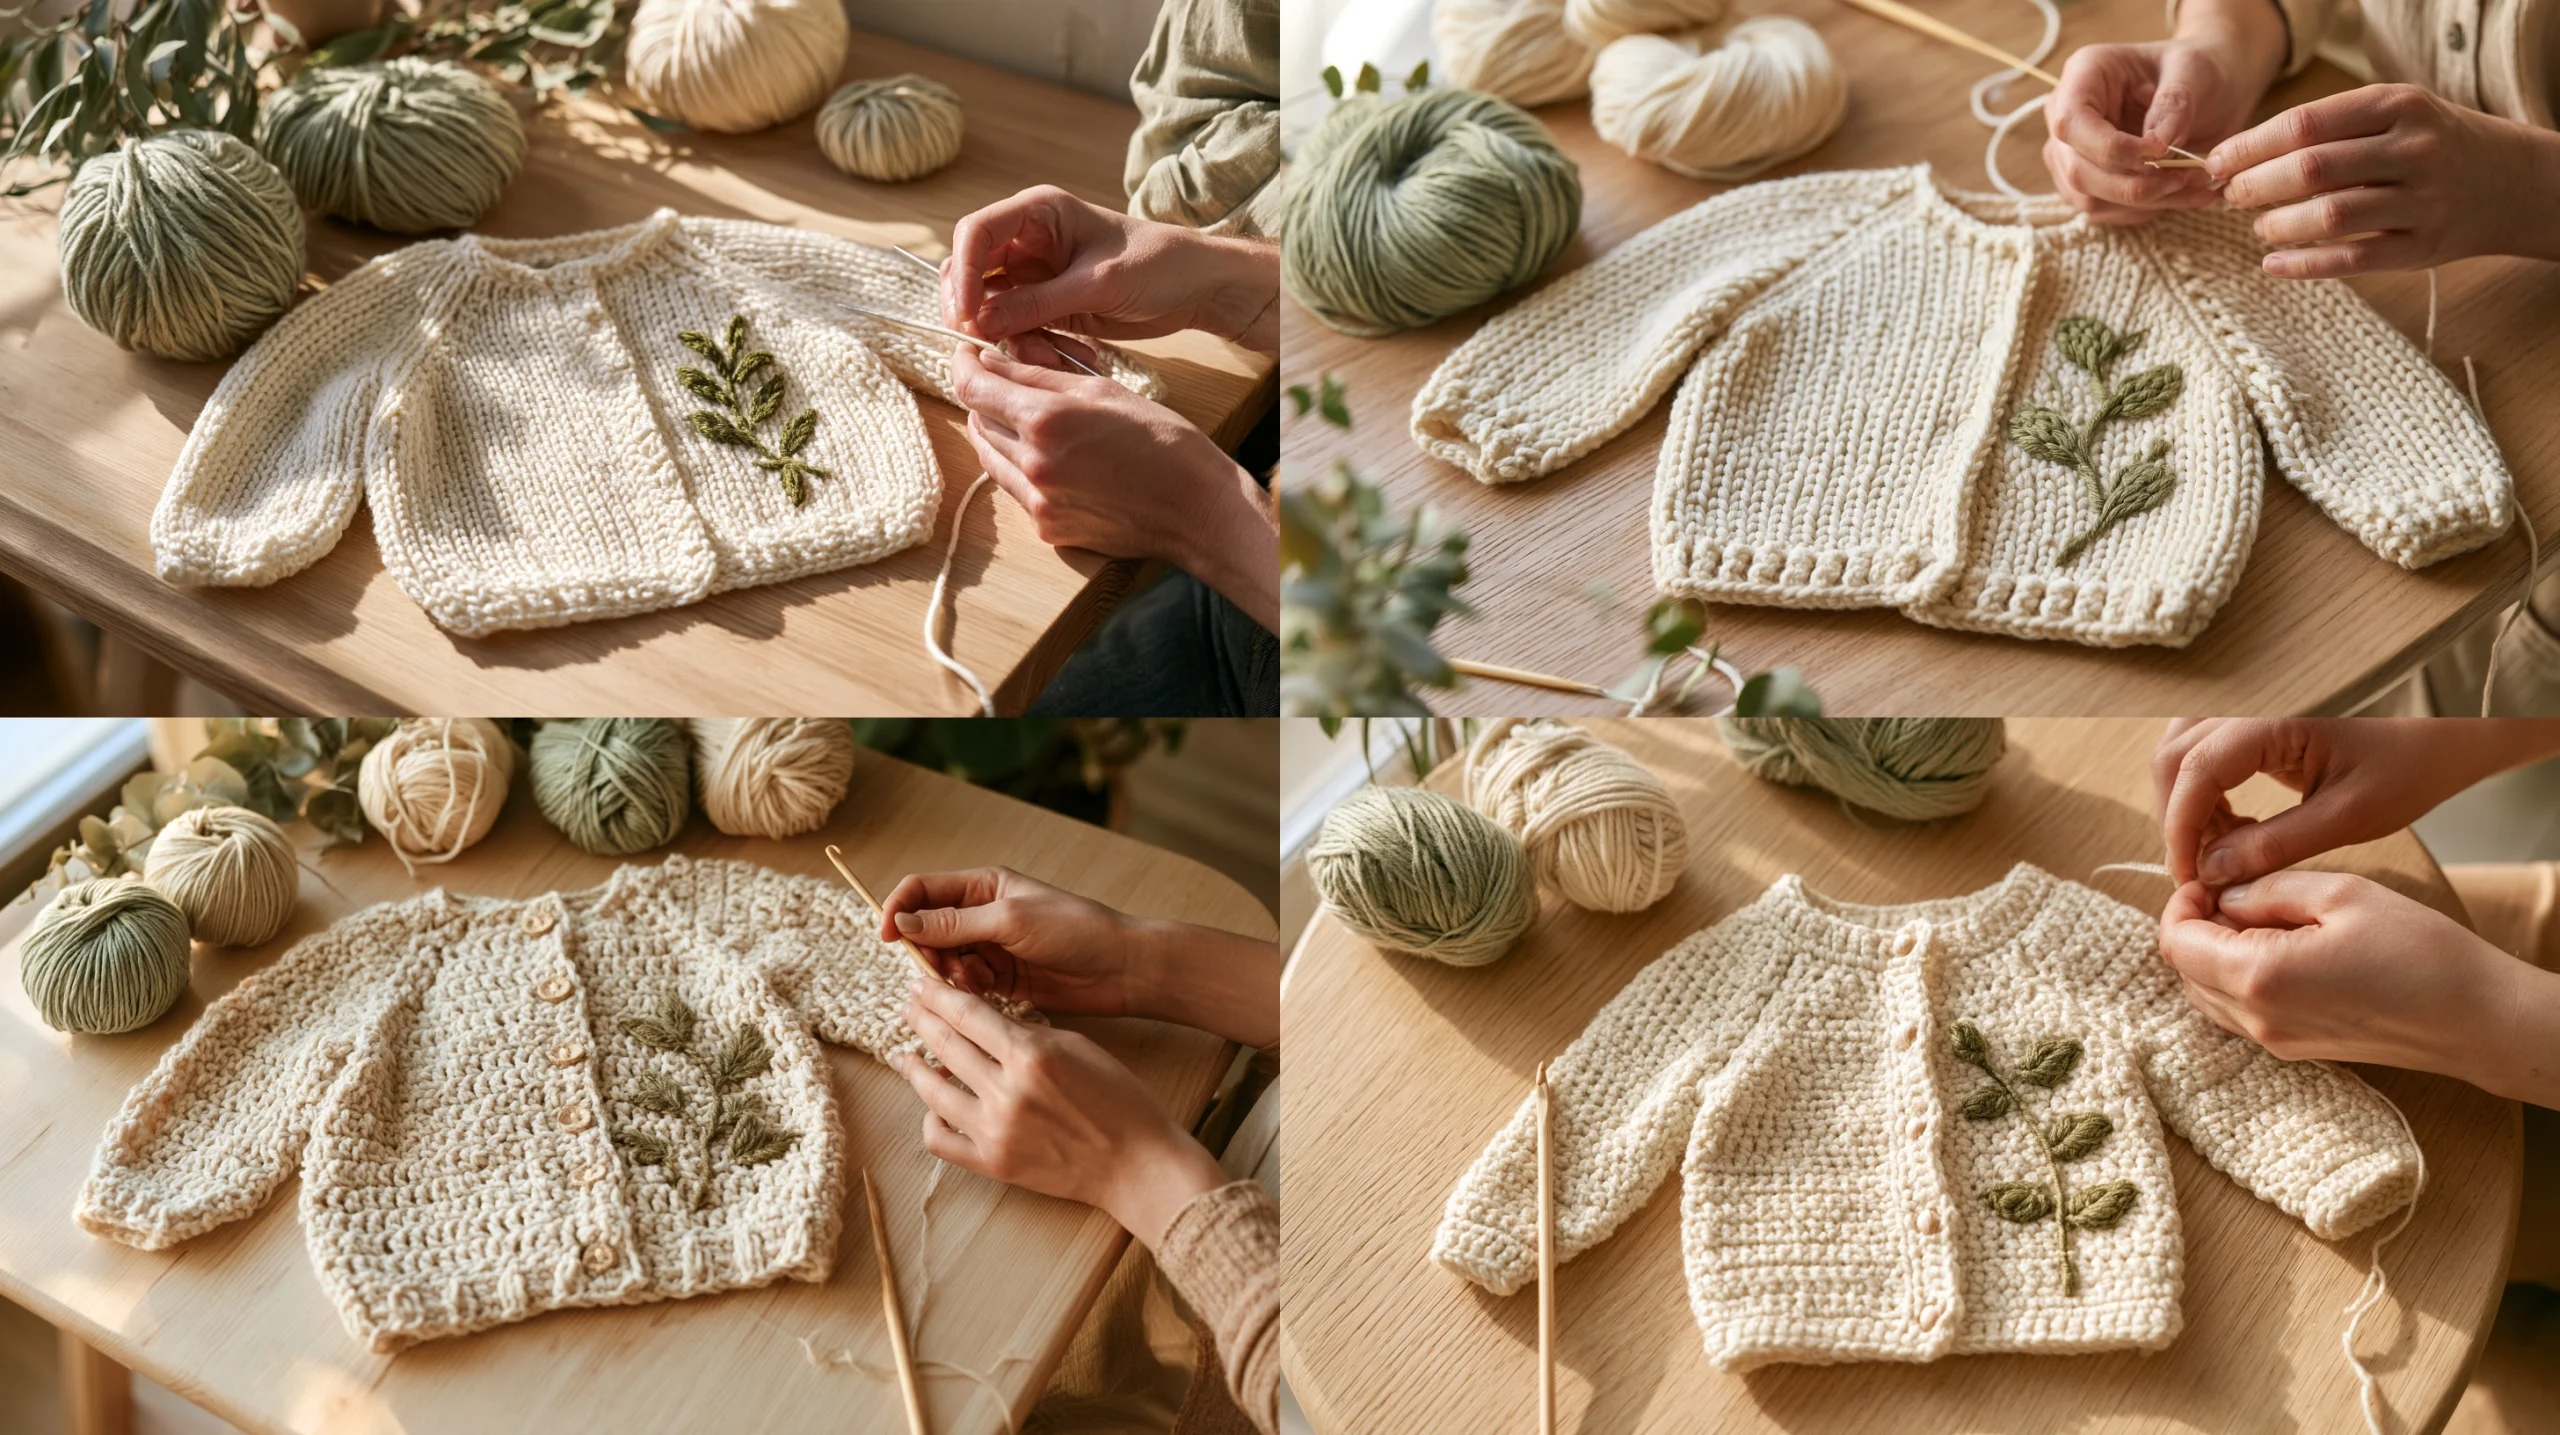
Olivenzweig Baby Cardigan häkeln 🌿🤍 | Natürlich & elegant is a lovely project when you want a soft, practical layer with a calm, botanical colour palette. This original tutorial explains how to shape a simple top-down cardigan with raglan increases, a clean button band and an optional olive-branch detail.
The instructions focus on how to calculate your stitch counts from your own gauge and the baby’s measurements. That makes the design easier to adapt than a fixed-size pattern, whether you are crocheting for a newborn or a growing baby. You will also find yarn guidance, finishing advice and ideas for keeping the cardigan comfortable and safe to wear.
About this adjustable baby cardigan
The cardigan is worked flat from the neckline down. Raglan increases create the front, back and sleeves in one piece, so there are no shoulder seams to join. Once the yoke reaches the underarm, you separate the sleeves and continue the body. The sleeves are then worked in the round or in rows and seamed.
The instructions use US crochet terms, with German names in brackets where useful: chain (Luftmasche, LM), slip stitch (Kettmasche, KM), single crochet (feste Masche, fM) and double crochet (Stäbchen, Stb). The main fabric is double crochet. A simple single-crochet edging gives the neckline and front edges a neat finish.
Materials and yarn recommendations
- Soft, washable yarn suitable for baby garments. Choose a smooth yarn that feels comfortable against sensitive skin.
- A crochet hook that gives you a flexible, even fabric. Start with the hook suggested on the yarn label, then adjust after making a swatch.
- Four stitch markers, a yarn needle, scissors and buttons with secure shanks or sew-through holes.
- A tape measure and a small notebook for recording your gauge and calculated stitch counts.
A lightweight DK or sport-weight yarn can work well for a cardigan, but the right choice depends on the fabric you want and the yarn’s stated weight. Avoid anything scratchy, heavily textured or prone to shedding. Cotton blends can feel cool and are often easy to wash; soft wool blends can add warmth, but check the care instructions before choosing.
For an olive-branch look, use a natural main colour such as warm ivory, oat or pale sage. Add a small olive-green motif or a narrow contrast edging if you like. The cardigan does not need a large decorative detail to feel botanical: a restrained palette and tidy stitches can carry the theme.
Make a swatch before calculating the pattern
Work a square in double crochet using the hook you plan to use. Wash and dry it as you intend to care for the finished cardigan, then measure the central area rather than the edges. Record how many stitches and rows fit into 10 cm. Your washed gauge is more useful than a measurement taken straight off the hook, because yarn can relax after washing.
Measure the baby’s chest over clothing similar to what will be worn under the cardigan. Add a small amount of ease for comfortable movement. For a gift, use a reliable size chart and choose a fit with room to grow, but remember that babies vary. Compare the planned body circumference and sleeve length with a cardigan that fits well, if one is available.
To calculate stitches, multiply your target width in centimetres by your stitches per centimetre. For example, if your swatch has 16 stitches in 10 cm, it has 1.6 stitches per centimetre. A target width of 30 cm would therefore need about 48 stitches across that area. Treat this as a calculation method, not a universal baby size; adjust for your gauge, fit and stitch pattern.
Set up the raglan yoke
Make a foundation chain long enough to sit comfortably around the neckline, allowing for the cardigan’s front opening. Try it around the baby’s neck only if you can do so comfortably and safely; otherwise, compare it with a garment or use your planned neckline measurement. Do not make the neck opening tight.
On the first row, divide the stitches into five sections: left front, sleeve, back, sleeve and right front. The fronts are narrower than the back, and the sleeves each receive a smaller share of the neckline stitches. Place a marker at each of the four boundaries. Exact starting counts depend on your gauge and desired neckline, so write down your division before crocheting the next row.
Work the yoke in rows, turning at the end of each row. At each marked boundary, make a raglan increase by working a double crochet, a chain stitch and another double crochet into the marked stitch or space. Move the marker to the chain space on the next row. This creates four clear increase lines and adds stitches at all four corners on each increase row.
Alternate increase rows with plain rows if the neckline grows too quickly or the fabric begins to ruffle. Continue until the yoke reaches the underarm and the back section spans the baby’s back with comfortable room. Try the piece against a well-fitting garment or check your measurements as you go. The yoke depth, not a fixed row count, determines when to separate the sleeves.
Separate the sleeves and crochet the body
- At an underarm row, crochet across the first front section to the first raglan line.
- Skip the sleeve stitches between the next pair of raglan lines. Join the front and back sections with a short chain long enough to allow comfortable movement. The chain length should match the underarm depth and your stitch gauge; avoid pulling it tight.
- Continue across the back to the next sleeve, skip those sleeve stitches, and make a matching underarm chain. Crochet across the remaining front stitches.
- Work the body back and forth in double crochet until it reaches your preferred length. Check the hem against a cardigan or the baby’s measurements rather than relying on a standard row count.
For a softly finished hem, work one or two rows of single crochet. Keep your tension relaxed so the lower edge does not draw in. If the hem flares, reduce the hook size for the edging or use fewer stitches in the final row, spacing any decreases evenly.
Work the sleeves
Join the yarn at the centre of an underarm chain and crochet around the sleeve opening. Pick up stitches evenly across the chain so there are no holes at the join. Place a marker at the beginning of the round if you are working in a spiral or joined rounds.
Try the sleeve on a measuring guide or compare it with a garment that fits. Work until the sleeve is the length you want. To taper it, decrease one stitch on each side of the underarm at regular intervals. The spacing depends on the sleeve’s starting circumference and the fit you want, so make decreases gradually and check the width as you go. Finish with a short single-crochet cuff.
If you prefer to work sleeves flat, crochet back and forth and sew the seam after finishing. This can be easier if you are not comfortable working in the round, though a neat seam takes a little extra finishing.
Front bands, buttons and olive details
With the right side facing, join yarn at one lower front corner. Work single crochet evenly up the front, around the neckline and down the other front. Aim for a smooth edge: too many stitches can make the band wave, while too few can pull it inward. If the edge looks uneven, adjust the number of stitches on the next pass.
For a button band, work another row of single crochet. On one side, make buttonholes by chaining one or two stitches and skipping the same number of stitches beneath, spacing the openings to suit your buttons. Test each opening before sewing on a button. Keep buttons firmly attached and check them regularly; loose small parts can be a hazard for babies.
An olive-branch accent can be embroidered with a blunt yarn needle using smooth green yarn. Add a small stem and a few simple leaf shapes to the lower front or near the hem. Keep the embroidery flat and secure all ends on the inside. Avoid beads, sequins and other small embellishments on baby clothing.
Common problems and practical fixes
The yoke curls or feels too tight
A tight neckline or a hook that is too small may cause the yoke to curl. Recheck your swatch and try a larger hook if the fabric feels stiff. If the neckline itself is the problem, undo the first rows and begin with a longer foundation chain rather than forcing the fabric to stretch.
The raglan lines look uneven
Check that each marker stays in the chain space created by the previous increase. Count the four increase points at the end of every increase row and make sure you have not accidentally skipped a corner. Using a different-coloured marker for each boundary can make the sections easier to follow.
The underarms have holes
Small gaps can appear where the sleeve stitches are skipped. Pick up an extra stitch at each underarm corner when beginning the body or sleeve, then decrease it on the next round if needed. Weave in the tail securely to close any remaining gap.
The front band waves or pulls in
Spacing matters more than matching a predetermined count. Add stitches where the edge is being drawn inward; work fewer where it ripples. Blocking can help even out minor differences, but it will not correct a band that is substantially too tight or too loose.
Care and baby-safety checks
Follow the yarn label for washing and drying. If you are unsure how the fabric will behave, wash your swatch first. Fasten loose ends securely, check seams and buttons, and remove the garment from use if any part becomes damaged. Choose a fit that allows free movement and does not restrict the neck, wrists or underarms.
For a newborn, keep decorative elements minimal and avoid cords, long ties and detachable embellishments. A cardigan is an outer layer, not sleepwear; follow the family’s usual safe-sleep guidance and remove extra layers when they are not needed.
Häufig gestellte Fragen
Which yarn is best for an olive-branch baby cardigan?
Choose a smooth, soft yarn labelled for garments and suitable for the care routine you expect. A gentle ivory or sage shade works well, but comfort, washability and a consistent stitch definition matter more than colour.
Can I make this cardigan in a different baby size?
Yes. Use a washed swatch to calculate stitches per centimetre, then plan the chest width, yoke depth and sleeve length from the intended measurements. Adjust the number of foundation-chain stitches and the yoke increases to suit your gauge; do not copy a fixed stitch count without checking it.
How do I know when the yoke is deep enough?
Measure from the neckline to the underarm and compare the yoke with a cardigan that fits. The yoke should reach the underarm comfortably without pulling across the back. Your row gauge and the baby’s proportions affect the required depth.
Can a beginner crochet this top-down design?
A beginner who knows chains, double crochet, single crochet and basic increases can follow the construction. Use markers, check your section divisions often and try the garment against measurements as you work. The shaping is easier to manage when you record each increase row.
How should I attach buttons safely?
Sew each button on firmly with matching yarn or strong thread and secure the ends on the inside. Test the buttonhole fit and inspect the attachments regularly. Do not use a button or embellishment that is loose or damaged.
Final thoughts
Olivenzweig Baby Cardigan häkeln 🌿🤍 | Natürlich & elegant is most successful when you let your swatch and measurements guide the shaping. Work the yoke patiently, check the fit before separating the sleeves, and keep the finishing soft and secure. Choose a comfortable yarn, add a restrained olive detail if you wish, and enjoy making a thoughtful layer for a little one.
About the Author

Marianne
kitchen guide and fellow food
Hi, we’re Marianne Hi there, and welcome to Recipes Days! I’m Marianne, your kitchen guide and fellow food lover. If you’ve ever felt overwhelmed by complicated recipes or thought, “I don’t have time to cook something good,” I’ve been there too. That’s why Recipes Days exists—to make cooking feel effortless, fun, and full of flavor, no matter your experience level.