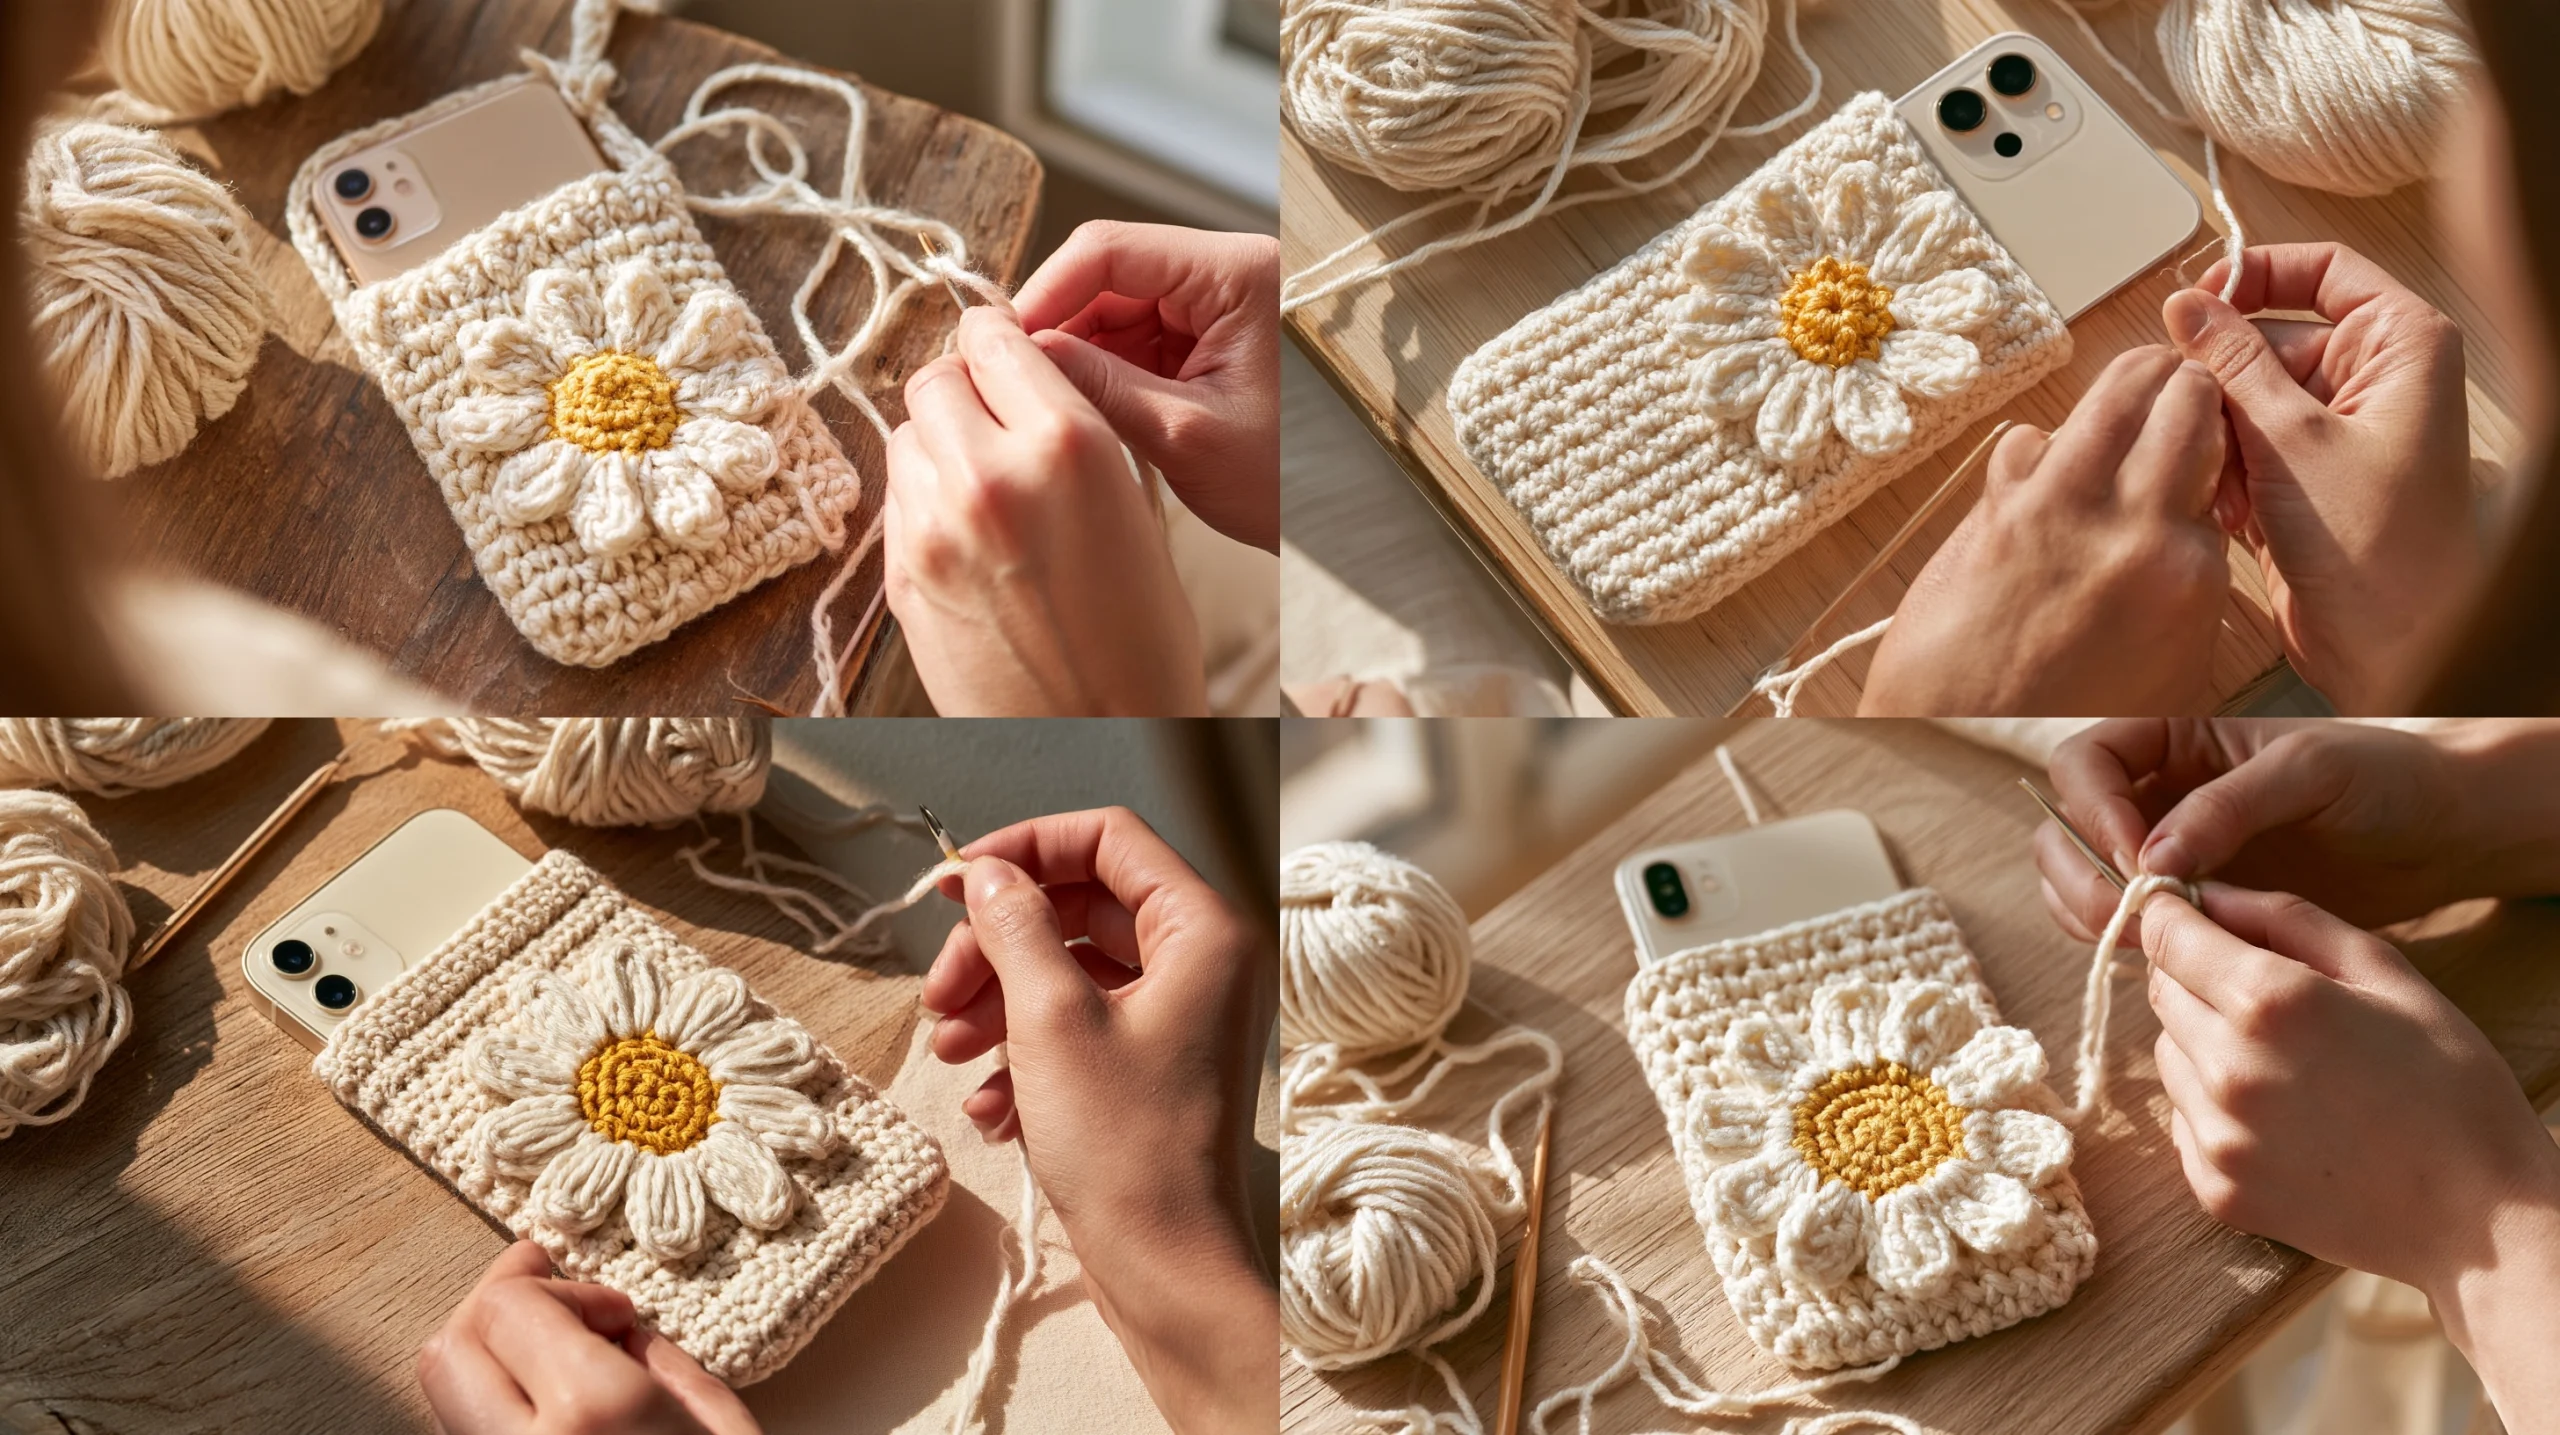
Make a cheerful, handmade phone sleeve with the DIY Daisy iPhone 18 Crochet Cover – Cute Handmade Phone Case. This beginner-friendly project uses two simple single-crochet panels, joined at the sides and bottom, plus a small daisy appliqué sewn onto the front.
Because phone dimensions and camera layouts can vary, the pattern is designed around your own measurements rather than assumed iPhone 18 specifications. You’ll learn how to size the panels, make the flower and check the fit before sewing everything together.
Important sizing note
Check the dimensions of your actual phone, including any raised camera area, before you begin. A crocheted sleeve is not a rigid protective case, and the fit will depend on your yarn, hook and tension. Test the panels around the phone before closing the seams; never force the phone into a tight sleeve.
Project overview
| Project | Difficulty | Construction | Size | Estimated time |
|---|---|---|---|---|
| Daisy phone sleeve | Confident beginner | Two flat panels, sewn together; separate flower | Custom-fit to your phone | About 3–5 hours, depending on pace |
Materials
- Fine to light DK-weight cotton yarn: approximately 25–40 g for the sleeve, depending on phone size and yarn; a small amount of yellow and white for the daisy.
- A 2.5–3.5 mm crochet hook, chosen to make a firm but flexible fabric.
- Yarn needle, scissors and measuring tape.
- Two stitch markers to mark the panel edges if helpful.
- Your phone or its measured dimensions for fit checks. Remove it before sewing or pinning pieces.
Yarn and hook
Cotton or a cotton blend makes a practical sleeve: the stitches show clearly, and the fabric has less stretch than many acrylic yarns. Choose a smooth yarn without fluffy fibres that could catch around buttons or camera details. A smaller hook creates a denser fabric; a larger hook makes the sleeve stretchier and may leave the phone less secure. If you substitute yarn, make a new swatch and recalculate the stitch count.
Gauge
Exact gauge is not essential, but your swatch is important for sizing. Crochet a square at least 10 cm wide in single crochet, using the yarn and hook you plan to use. Measure the stitches across the middle, without stretching the fabric. Divide that stitch count by the measured width in centimetres to find your stitches per centimetre. For example, if your swatch has 20 stitches across 10 cm, use 2 stitches per centimetre. Your own result may differ.
If the fabric feels too loose, try a smaller hook; if it is stiff or too small, try a larger one. Recheck the swatch after changing hooks.
Abbreviations
- ch – chain
- sc – single crochet
- sl st – slip stitch
- st(s) – stitch(es)
- row – row
This pattern uses US crochet terms. Work the panels in rows, turning at the end of each row. The turning chain does not count as a stitch.
Pattern notes
- Make two identical panels. Each panel is worked from the bottom edge upwards.
- Use the same yarn and hook for both panels so they match.
- Work one single crochet in every stitch unless the instructions say otherwise. The stitch count stays the same throughout.
- Leave a yarn tail of about 30 cm on each panel for sewing, or join with a separate length of yarn.
- The daisy is made separately and sewn to the front panel before you join the sleeve.
Before you start
- Measure the phone’s width, height and thickness. Check the manufacturer’s dimensions if you cannot measure the device directly.
- For a snug sleeve, begin with a panel width close to the phone’s width plus its thickness, with about 0.5–1 cm of ease. Crochet fabric can stretch, so treat this as a starting point and check the fit.
- Plan the panel height: aim for the phone’s height plus about 0.5–1 cm so the top remains accessible.
- Use your swatch to convert those target measurements into stitches and rows.
DIY Daisy iPhone 18 Crochet Cover – Cute Handmade Phone Case: step-by-step pattern
Calculate your panel size
Let W be the phone width and D its thickness. A useful starting target for each panel’s width is W + D + 0.5–1 cm. Let H be the phone height; target a panel height of H + 0.5–1 cm. These are starting measurements, not guaranteed finished dimensions. The side seams use some fabric, so compare your work with the phone as you go.
To calculate the starting chain, multiply your target width in centimetres by your swatch’s stitches per centimetre, then round to the nearest whole stitch. For example, a 9.5 cm target at 2 stitches per centimetre gives 19 stitches. Measure the chain and first row: if they do not reach the target width, adjust the chain count. To estimate row count, multiply your target height by your rows per centimetre from the swatch.
Make the two panels
Make 2. With the main colour, chain the number of stitches you calculated, then chain 1 extra for turning. The extra chain is not included in the stitch count.
Row 1
Sc in the second chain from the hook and in each chain across. Turn.
Stitch count: the number of stitches in your starting chain, not including the turning chain.
Row 2
Ch 1, sc in every stitch across. Turn. Keep the first and last stitch easy to identify; place a marker in each if needed.
Rows 3 onward
Repeat Row 2 until the panel reaches your target height. Lay it flat and measure without stretching. Make the second panel with the same chain count and number of rows. If one panel is taller, remove or add rows before assembly.
Make the daisy
With yellow yarn, make a magic ring. Ch 1, work 6 sc into the ring, then sl st into the first sc to join. Pull the ring closed firmly, but leave enough room to work into each stitch. Fasten off and weave in the centre tail.
Join white yarn with a sl st in any of the six centre stitches. In that same stitch, work 3 double crochet (dc), then sl st in the same stitch to complete one petal. Repeat in each of the remaining five stitches: sl st, 3 dc, sl st. You will have six petals. Join with a sl st to the first white stitch and fasten off, leaving a sewing tail.
Position the flower
Lay one panel with its right side facing up. Position the daisy near the lower half, leaving room around the edges for the seams. Pin or hold it in place, then sew around the yellow centre and the base of each petal with small, secure stitches. Avoid sewing through to the back of the panel more than necessary.
Adjusting the size
For a wider sleeve, add stitches to the starting chain; for a narrower one, remove stitches. Each added stitch changes the panel width by roughly the width of one stitch in your swatch. Add or remove rows to change the height. Keep both panels identical, and check the phone inside the unsewn panels before continuing. If your phone has a particularly thick case, measure it with that case on and calculate from those measurements.
Assembly
Align the panels
Place the panels with their right sides facing outward and the daisy on the front. Match the bottom edges and corners. If the stitch edges do not line up, check that both panels have the same number of stitches and rows.
Join the sides and bottom
With the yarn needle and a long length of yarn, sew the panels together along one side, across the bottom, and up the other side. Use mattress stitch for a neat, low-profile seam, or whip stitch for a simple secure seam. Catch one stitch from each panel at a time and keep the seam snug without pulling it tight. Leave the top edge open.
For a more defined bottom, pinch each lower corner so the side seam sits over the bottom fold. Sew across a short diagonal at each corner, testing the sleeve on the phone first. This optional boxed-corner finish uses some interior space, so keep the diagonal small.
Finishing
Weave in all ends on the inside, keeping them clear of the opening. Check the sleeve’s shape and fit before trimming any long sewing tails. Slide the phone in gently: it should sit securely without straining the seams, and the top should remain easy to grip. This sleeve has no camera opening, so remove the phone to take photos. If you prefer a camera opening, plan and reinforce it separately rather than cutting the finished crochet fabric.
Practical tips
- Count the stitches at the end of the first few rows. One skipped edge stitch can make a panel visibly narrower.
- Mark the first and last stitch of each row to help keep the edges straight.
- Use the same turning-chain tension throughout; a loose edge can flare while the panel stays flat.
- Keep the flower stitching secure, especially at the tips of the petals, so it does not snag during use.
- Test the joined sleeve with the phone before tightening the final seam section.
- If the case feels too tight, undo the side seams and add a little ease rather than stretching the crochet aggressively.
- For a related small project, use leftover cotton for a matching crochet key charm or a simple granny-square pouch.
Common mistakes and fixes
1. The panels are different sizes
This usually happens when a stitch is missed at the edge or the panels have different row counts. Count the stitches and rows before sewing. Unpick a few rows if necessary and make the panels match.
2. The sleeve is too tight
The starting chain may not include enough room for the phone’s thickness, or the fabric may have less stretch than expected. Measure the phone again and increase the panel width slightly. A larger hook may help, but make a new swatch before remaking both panels.
3. The top edge slopes
You may be missing the last stitch, or accidentally crocheting into the turning chain. Remember that the turning chain does not count; work into the final actual single crochet of each row.
4. The daisy curls or looks uneven
Check that each of the six centre stitches has exactly one petal group. Keep the three double crochets in each group at a similar height and avoid pulling the white yarn tight at the base.
5. The seams make the phone difficult to insert
A very tight sewing tension can reduce the interior width. Unpick the seam and sew again with even, relaxed stitches. Check the fit before fastening off.
Variations and design ideas
- Choose a soft neutral main colour and a bright yellow centre for a classic daisy look.
- Use a contrasting colour for the flower petals or make a small cluster of daisies.
- Add a single crochet edging around the top opening for a firmer finish; work evenly and avoid pulling the edging tight.
- Make the flower smaller by using finer yarn and a smaller hook, or larger with thicker yarn, checking that it still sits clear of the seams.
- Use stripes on the panels, changing colour at the end of a row and carrying or weaving in yarn ends securely.
Care instructions
Follow the care information on your yarn label. Cotton and blended yarns can behave differently in washing, so do not assume that every fibre is machine washable. Remove the phone before cleaning the sleeve, wash it according to the yarn guidance, and reshape it flat to dry if the label recommends that method.
Frequently asked questions
Can I use this pattern for a different phone?
Yes. Measure the device you own, including its thickness and any case you plan to keep on it. Recalculate the panel width and height from your swatch rather than using another phone’s stitch count.
Is this crochet phone cover suitable for a beginner?
It is suitable if you can chain, single crochet and sew two pieces together. The flower uses double crochet, but you can practise the petal repeat on a scrap of yarn first.
Can I use acrylic yarn instead of cotton?
You can, but acrylic may stretch more and feel warmer or softer. Make a swatch, check how it recovers after gentle stretching, and adjust the hook or panel size if needed.
How do I make sure the phone fits before I finish?
Compare the loose panels with the phone, then pin or baste the side seams and test the sleeve before sewing them permanently. Keep the phone out while using pins or a sewing needle.
How long does the project take?
Many crocheters can make the panels and daisy in a few hours, but your pace, yarn and panel size affect the time. Leave extra time for measuring and careful assembly.
Conclusion
The DIY Daisy iPhone 18 Crochet Cover – Cute Handmade Phone Case is a practical way to use simple stitches for a personalised accessory. The most important steps are measuring your actual phone, matching the two panels and checking the fit before closing the seams.
Choose colours that suit you, keep the daisy securely sewn on and adjust the pattern whenever your swatch or phone measurements call for it. Enjoy making your own version, and explore another small crochet project when you have a little yarn left over.
About the Author

Marianne
kitchen guide and fellow food
Hi, we’re Marianne Hi there, and welcome to Recipes Days! I’m Marianne, your kitchen guide and fellow food lover. If you’ve ever felt overwhelmed by complicated recipes or thought, “I don’t have time to cook something good,” I’ve been there too. That’s why Recipes Days exists—to make cooking feel effortless, fun, and full of flavor, no matter your experience level.